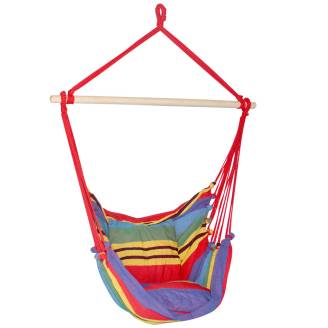
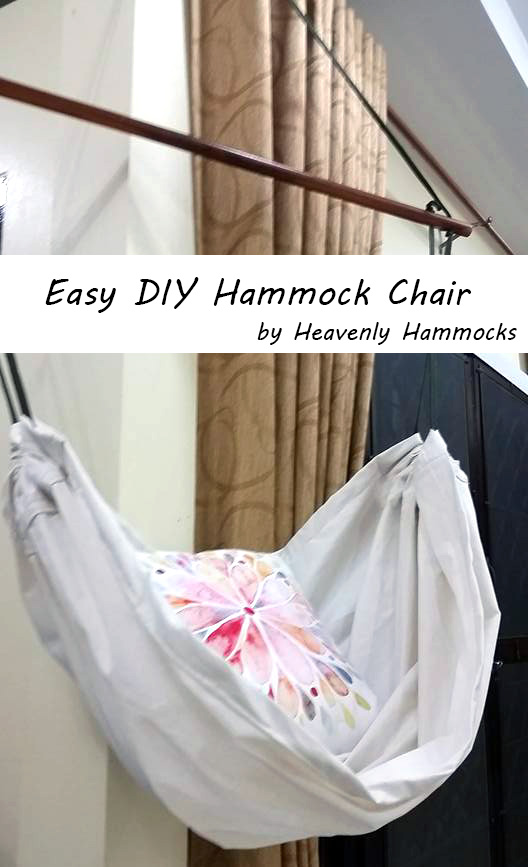
Looking for a fun craft project to make something for the kids? This DIY hammock chair is quick and simple to make, and it's cheap too! It is the easiest type of hammock chair to make, so it's a good starter project.
The most complicated steps are drilling 4 holes, cutting canvas and sewing straight lines. Even a child could be taught to do it. Maybe a duo DIY project is in order - parent and child.
Step 1: Buy Materials
- Canvas - 170cm x 120cm (for child size), equal to 67" x 47". Get a strong type (On Amazon), not too thin.
- Wooden Dowel - 106cm x 2.5cm pictured. 90cm x 3cm suggested, equal to 36" x 1-1/4" (On Amazon).
- Wood Drill Bit - 3/8" wood drill bit or a little larger. It should be larger than your rope, but sufficiently smaller than your wooden dowel.
- Rope - braided polypropylene or paracord. Two lengths of 2.5m (8.2') or one length of 5m (16.4'). It can be cut down later if preferred.
- Optional: Nylon Sewing Thread - For maximum strength and weather resistance, especially if you choose to make a chair for outdoors with outdoor canvas (On Amazon).
- Optional: Hanging Accessories - A Hammock Chair Hanging Kit can do you whole job of installation from your hanging point, or you can get a Tree Strap for use with trees, or can can get any hanging accessories separately such as a carabiner, O-ring and eye screw.
- Optional: Decorative Pillow - Create a unique style by matching with a decorative pillow that aligns with your child's interests or your decor.
Tools Needed
- Sewing Machine - For hemming and sewing the tunnel for the ropes.
- Electric Drill - For drilling holes in your wooden dowel.
- Clamps - To keep your wood steady when drilling.
- Scissors - For cutting your canvas.
- Box Cutter - For cutting your rope.
- Lighter - To fuse the ends of the rope after cutting.
Step 2: Cut Canvas to Size
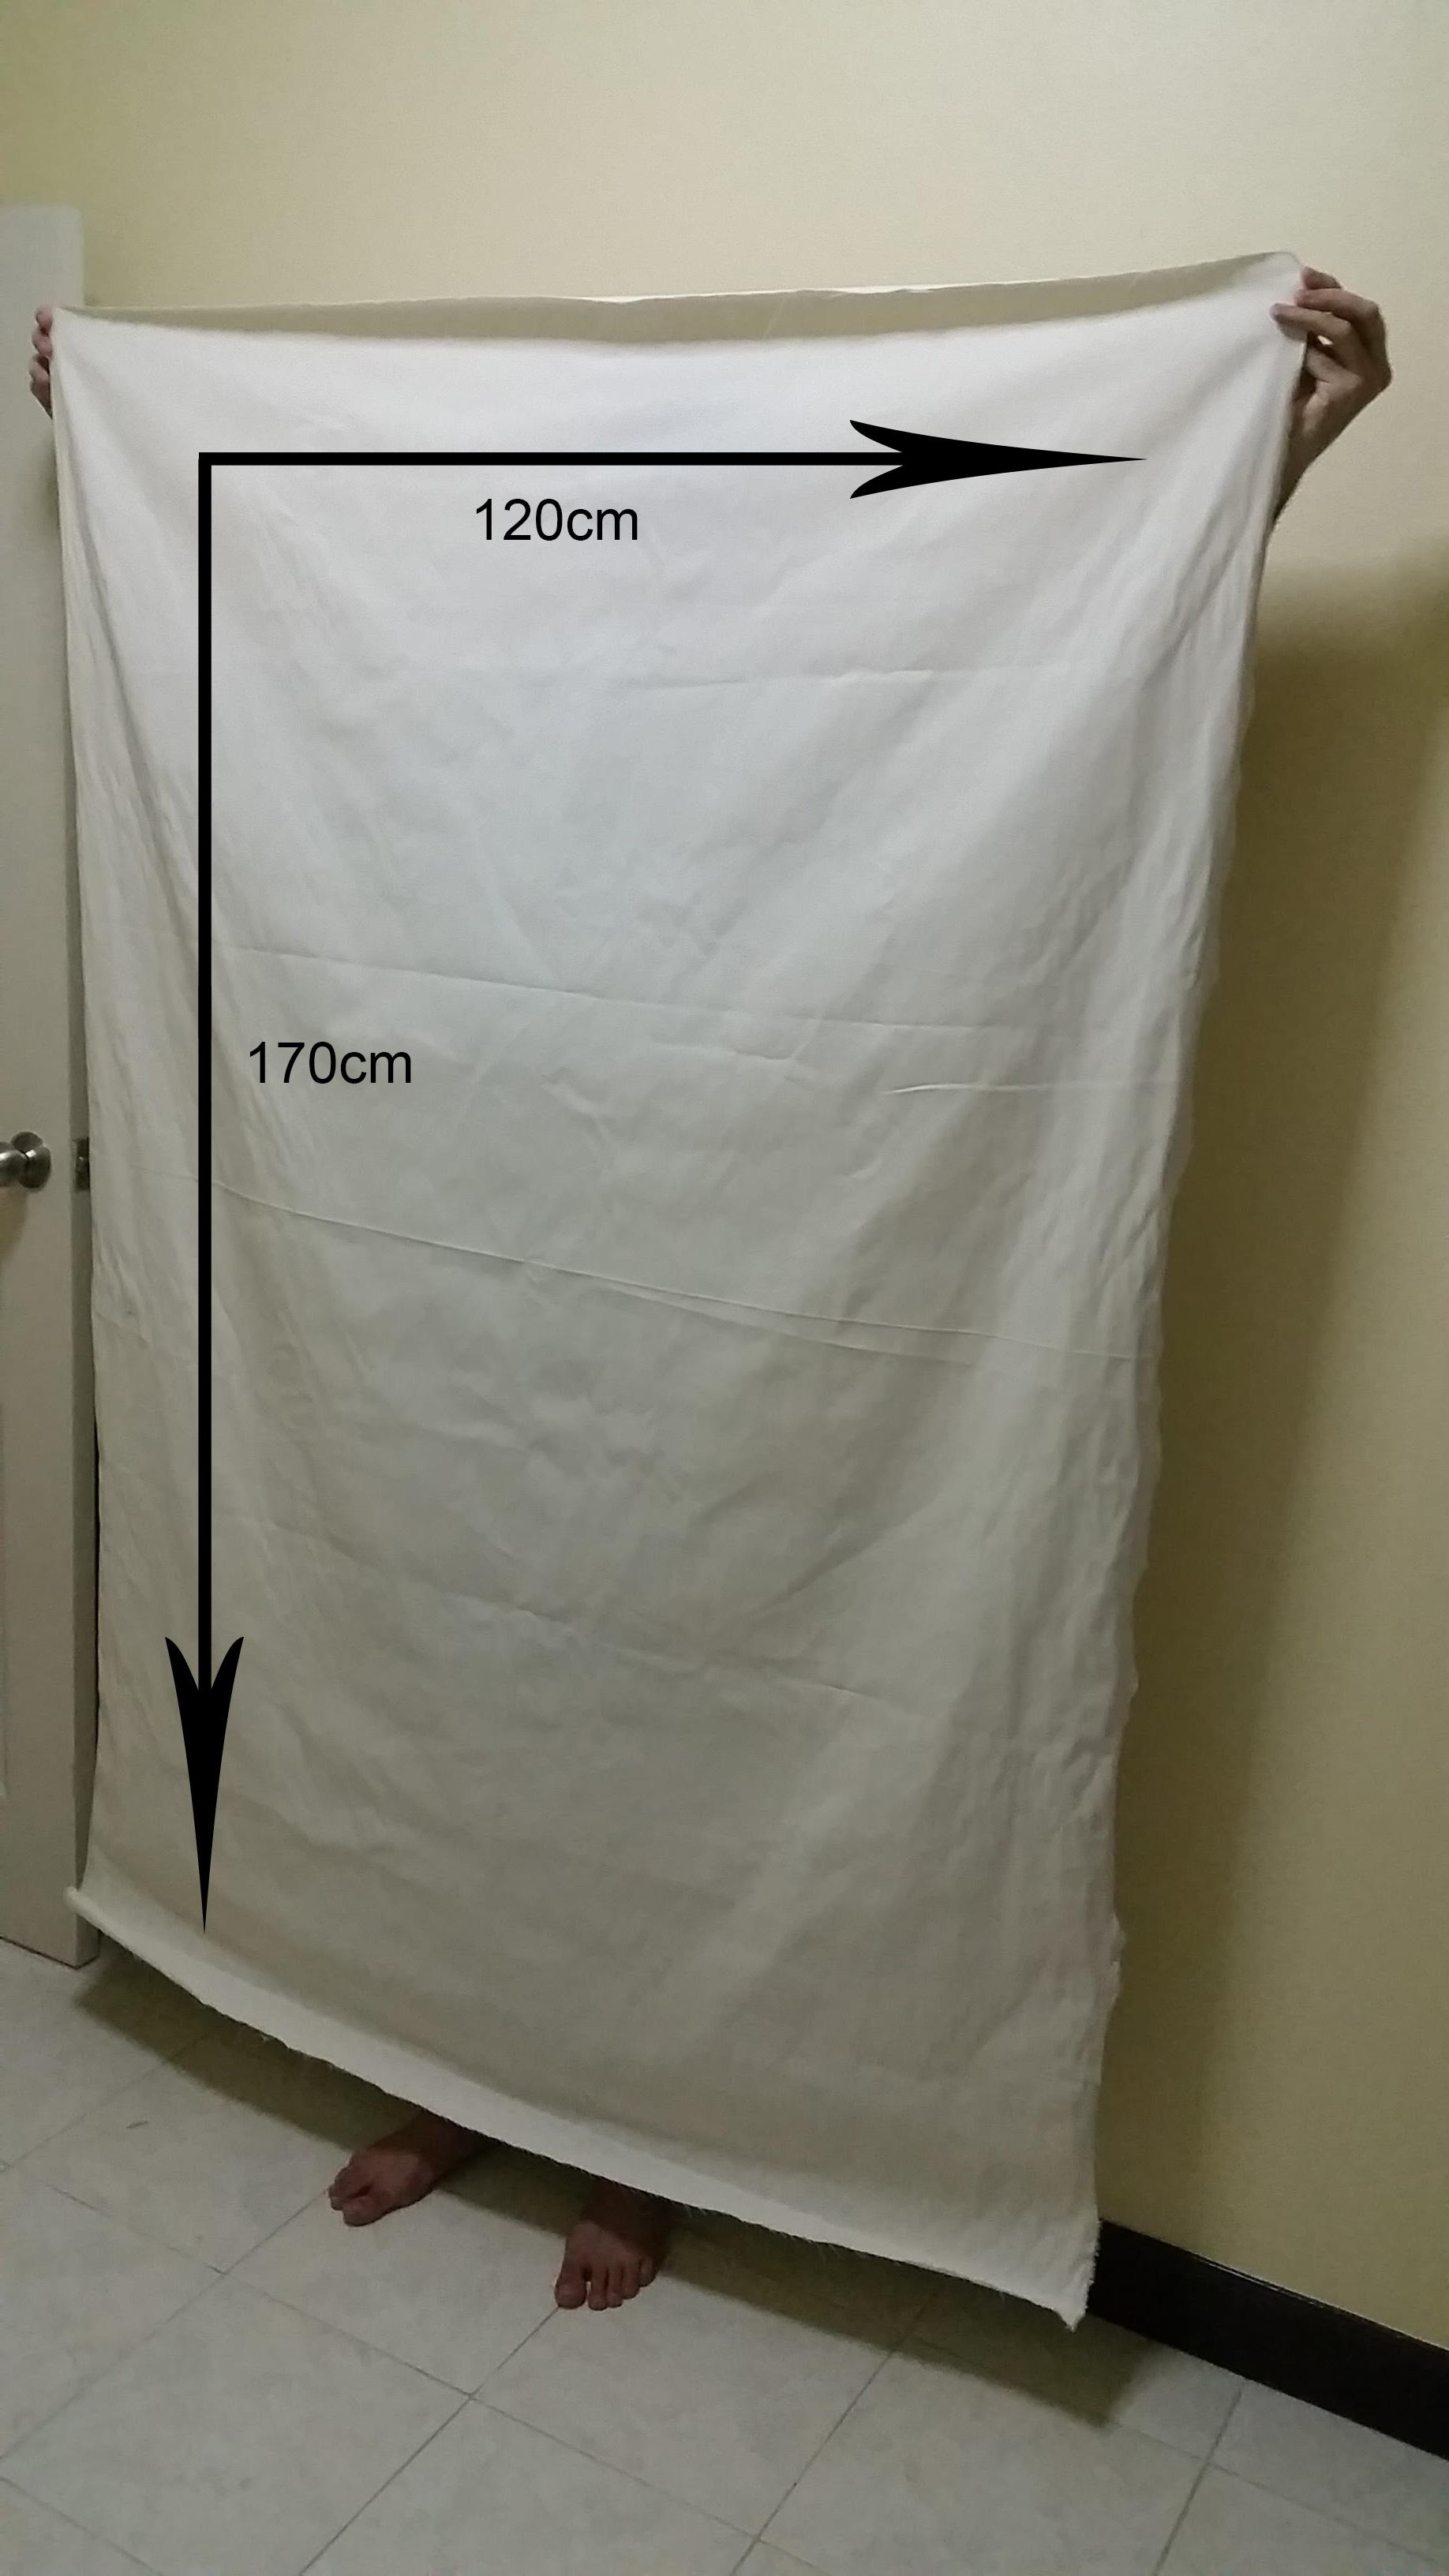
Your canvas should be 170cm x 120cm (67" x 47") for child size after cutting to size.
Step 3: Cut Triangles From The Canvas
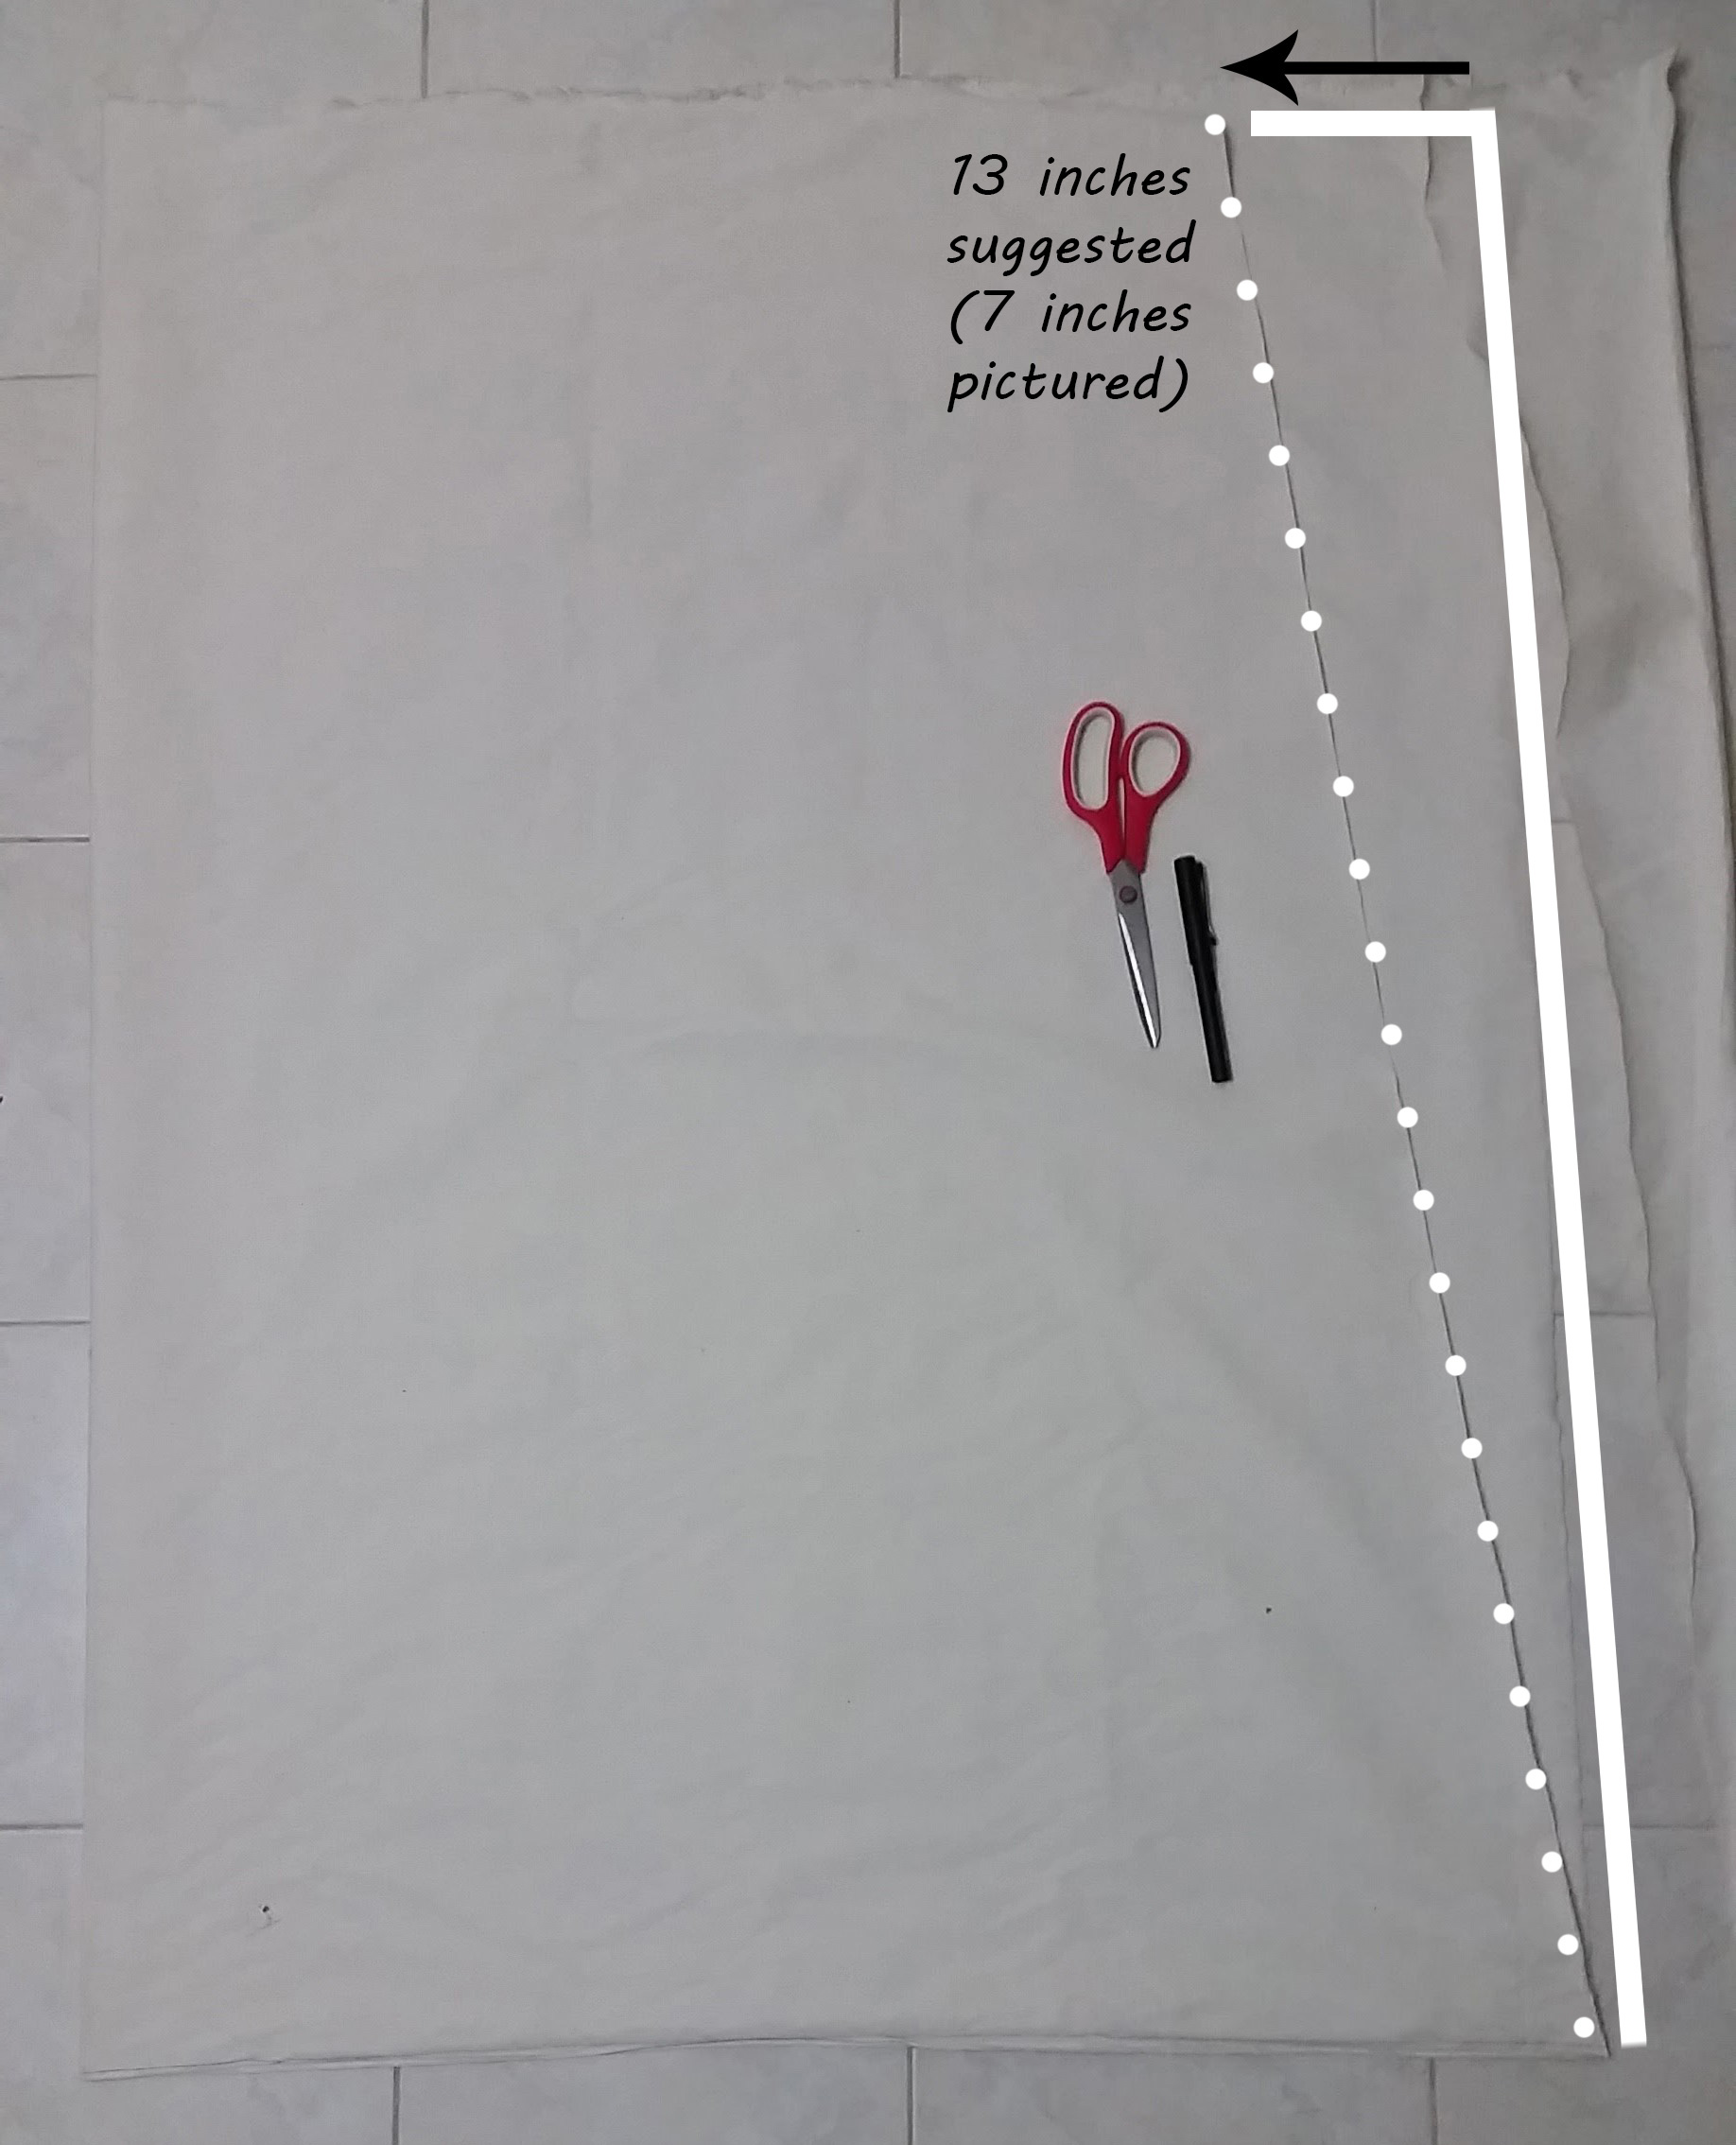
Place your canvas down horizontally as a long rectangle 170cm (67") wide, fold it in half so it's 85cm (33.5") wide. Measure 33cm (13") inward along the top, mark it like a triangle to the bottom corner, then cut the triangle off.
Step 4: Hem the Diagonal Sides
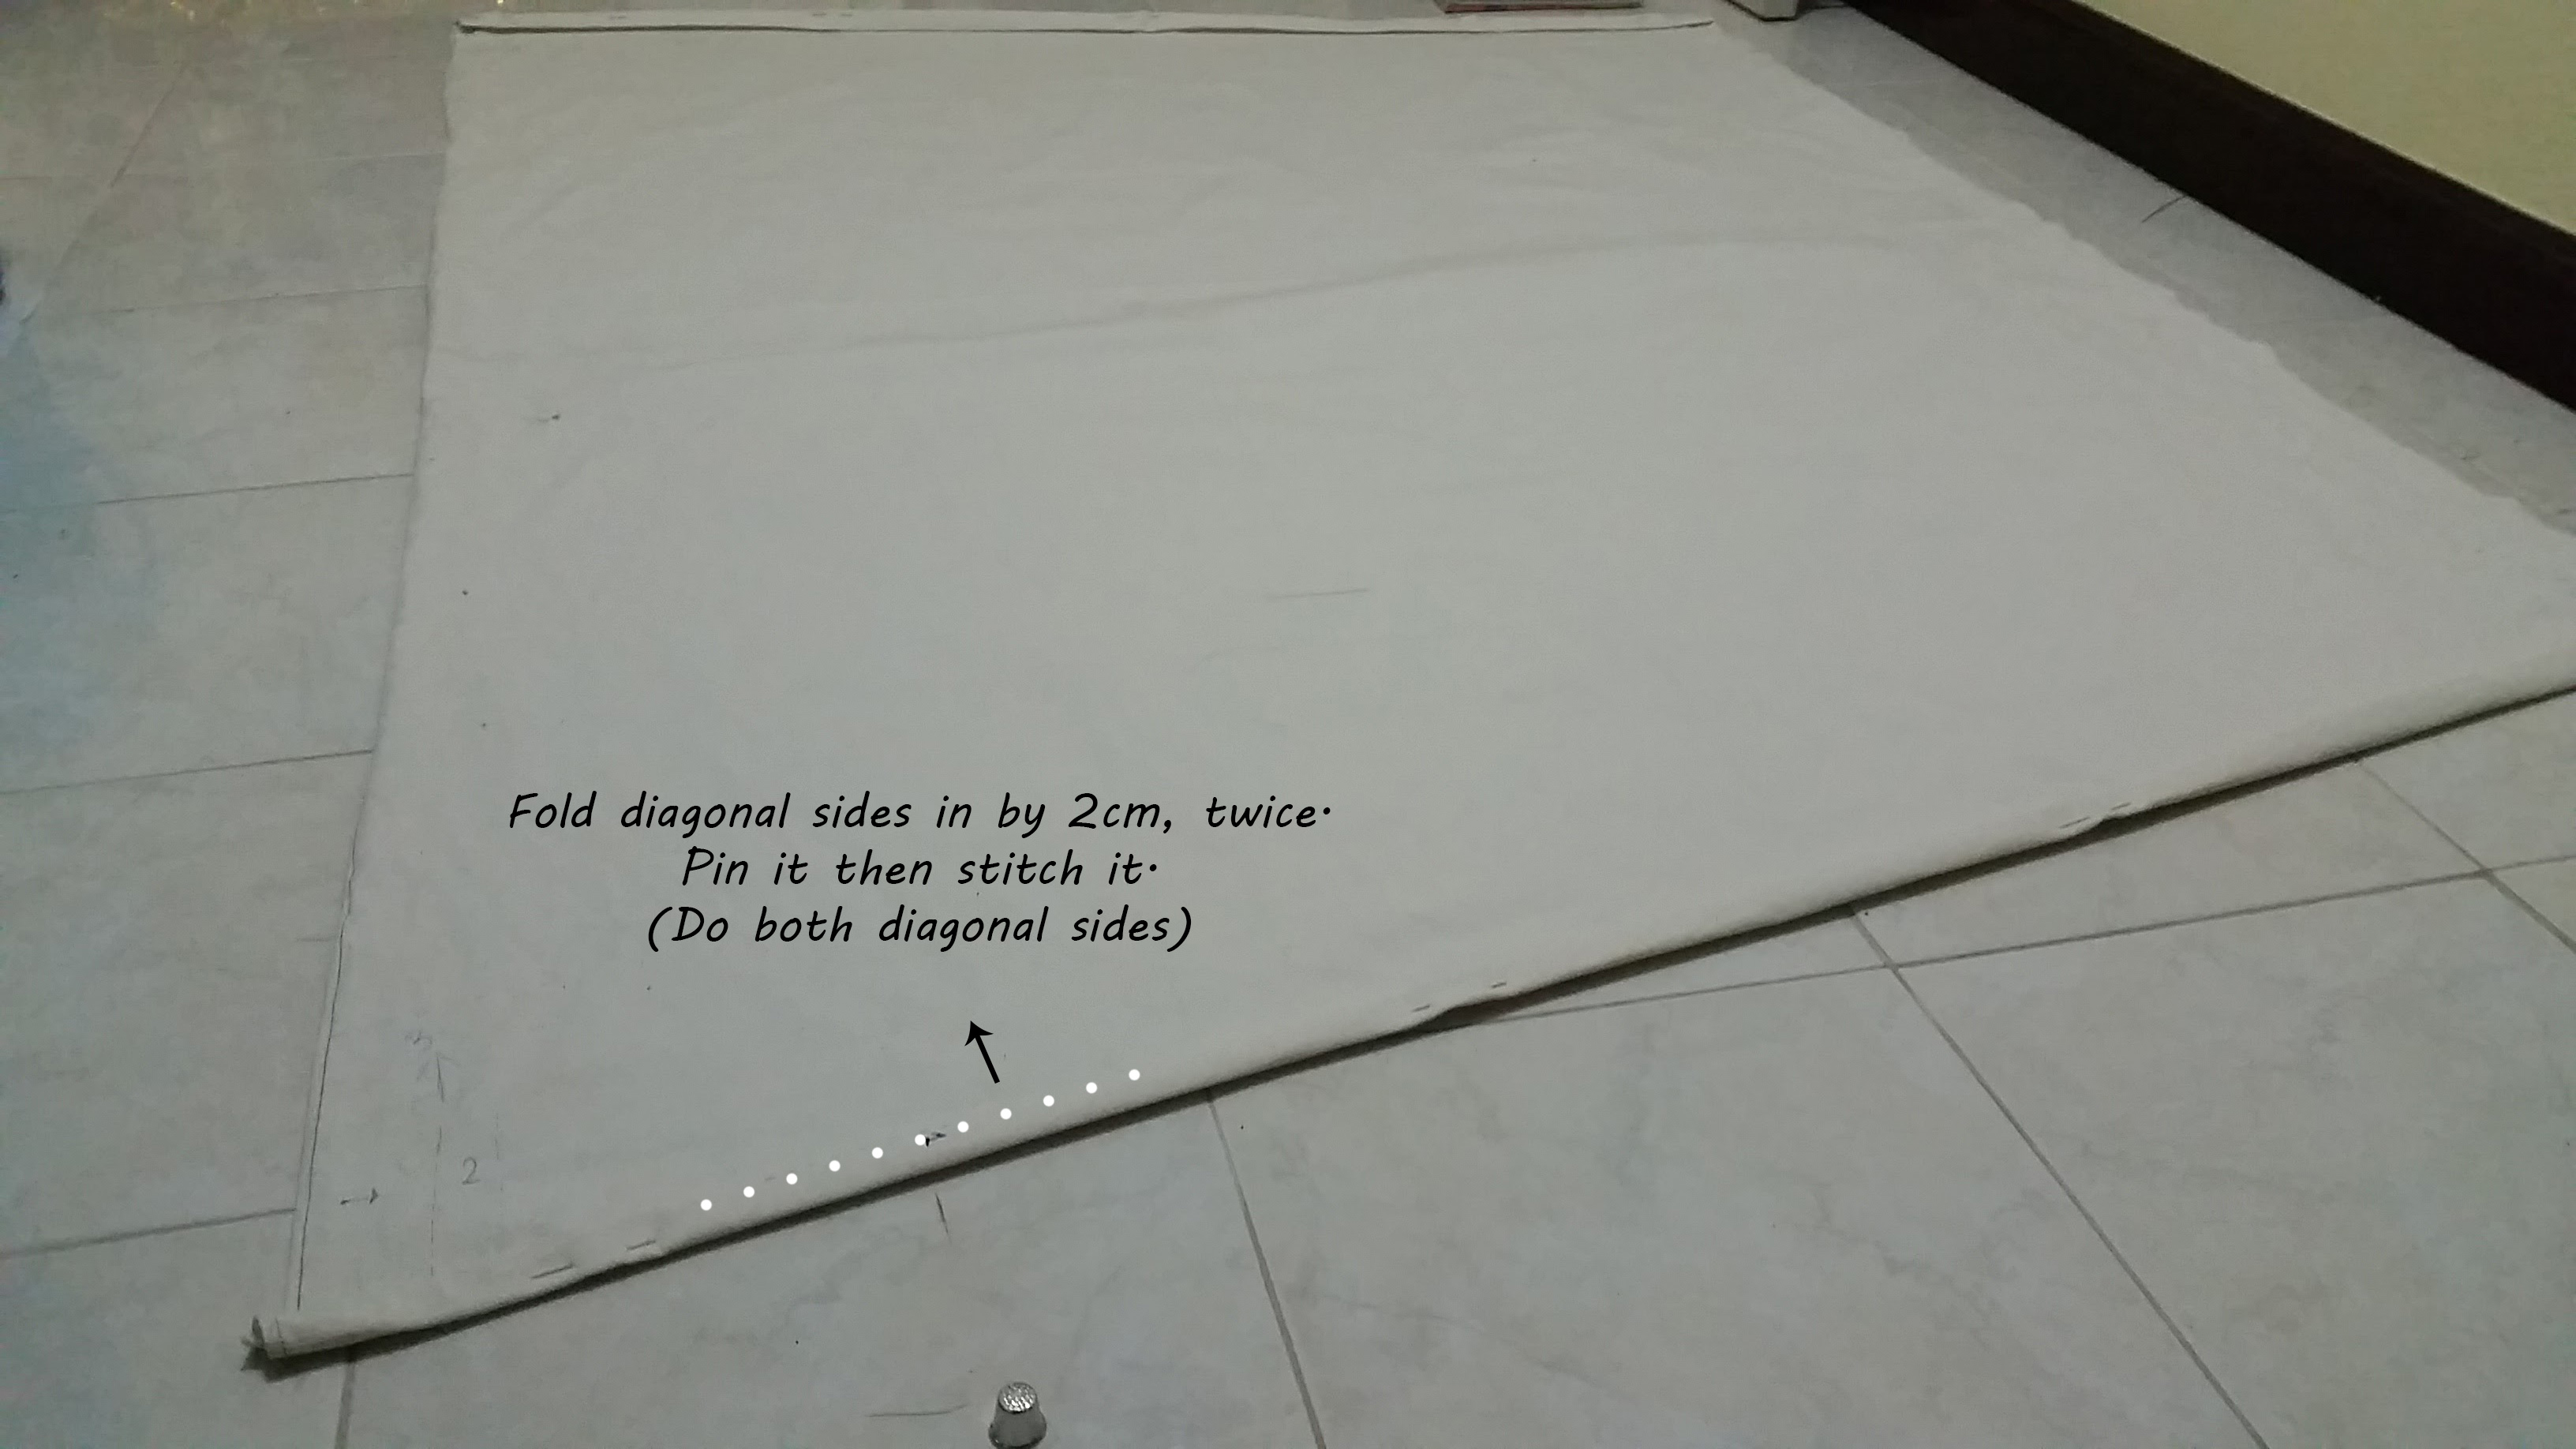
Fold the diagonal sides in by 2cm (0.8") then fold it over again. Pin it like this, then hem (sew) along the dotted line as pictured.
Step 5: Hem the Horizontal (Parallel) Sides
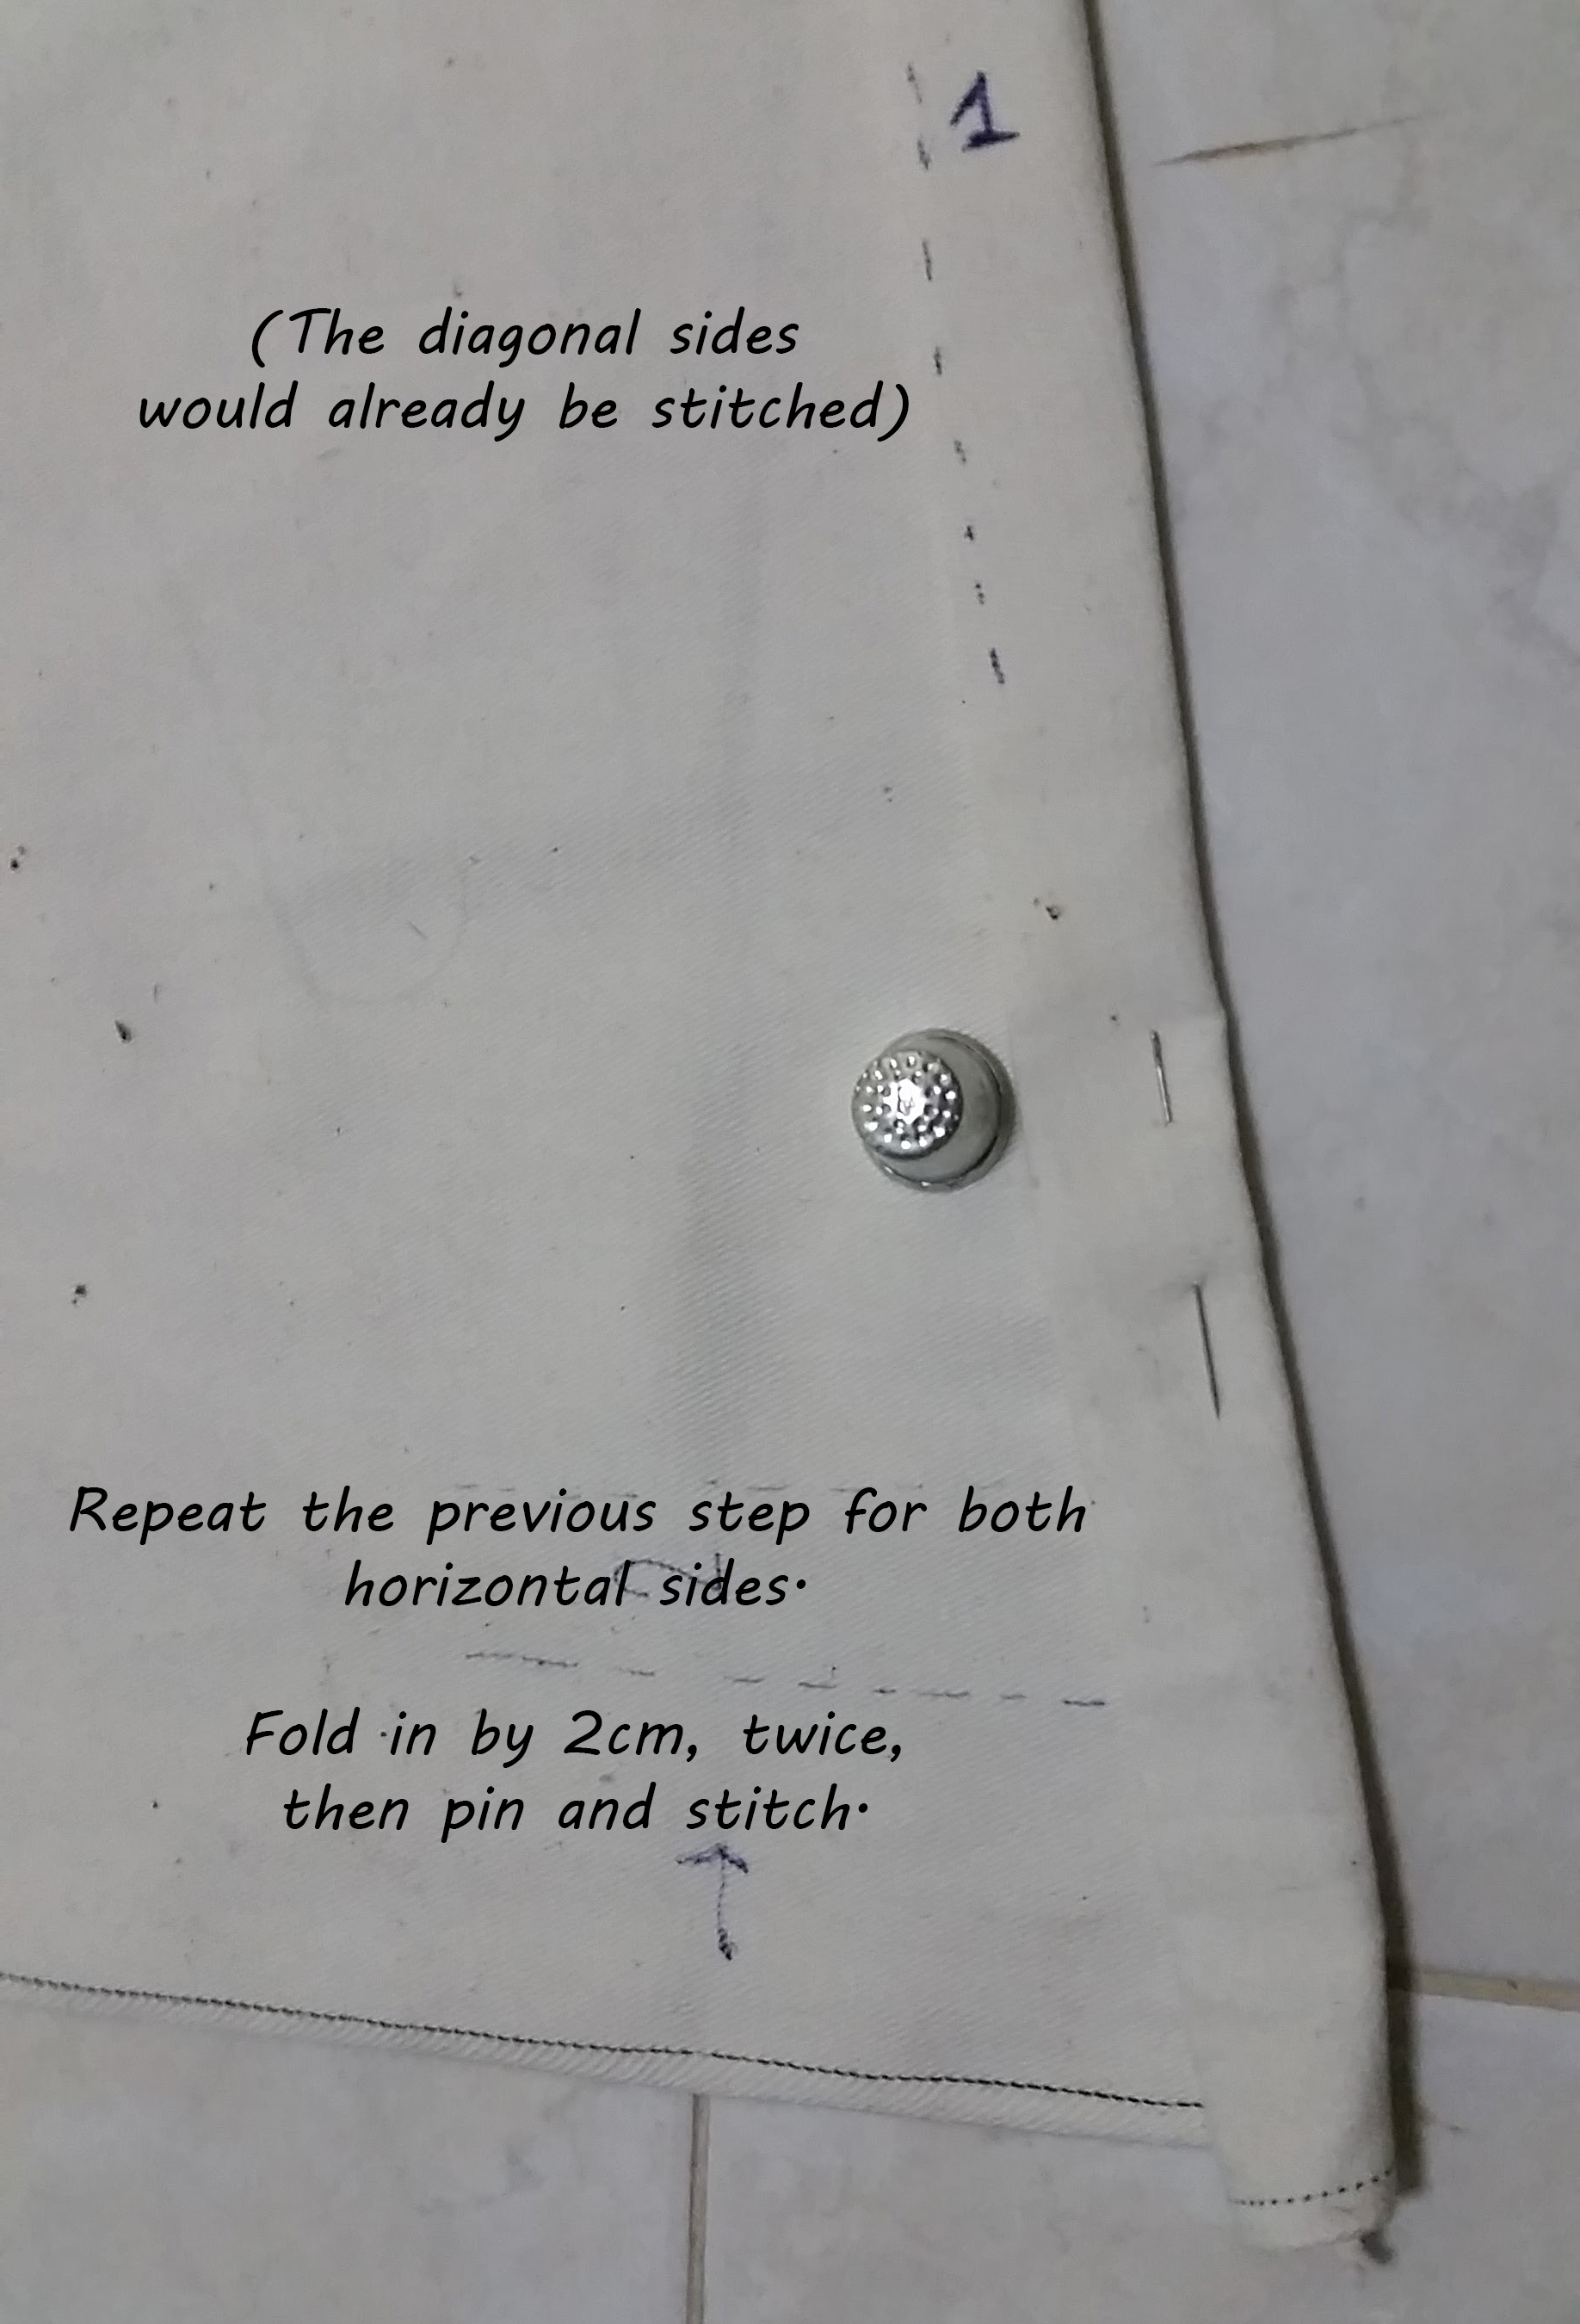
Repeat step 4, but this time on the remaining horizontal (parallel) sides.
Step 6: Fold and Sew the Rope Tunnels
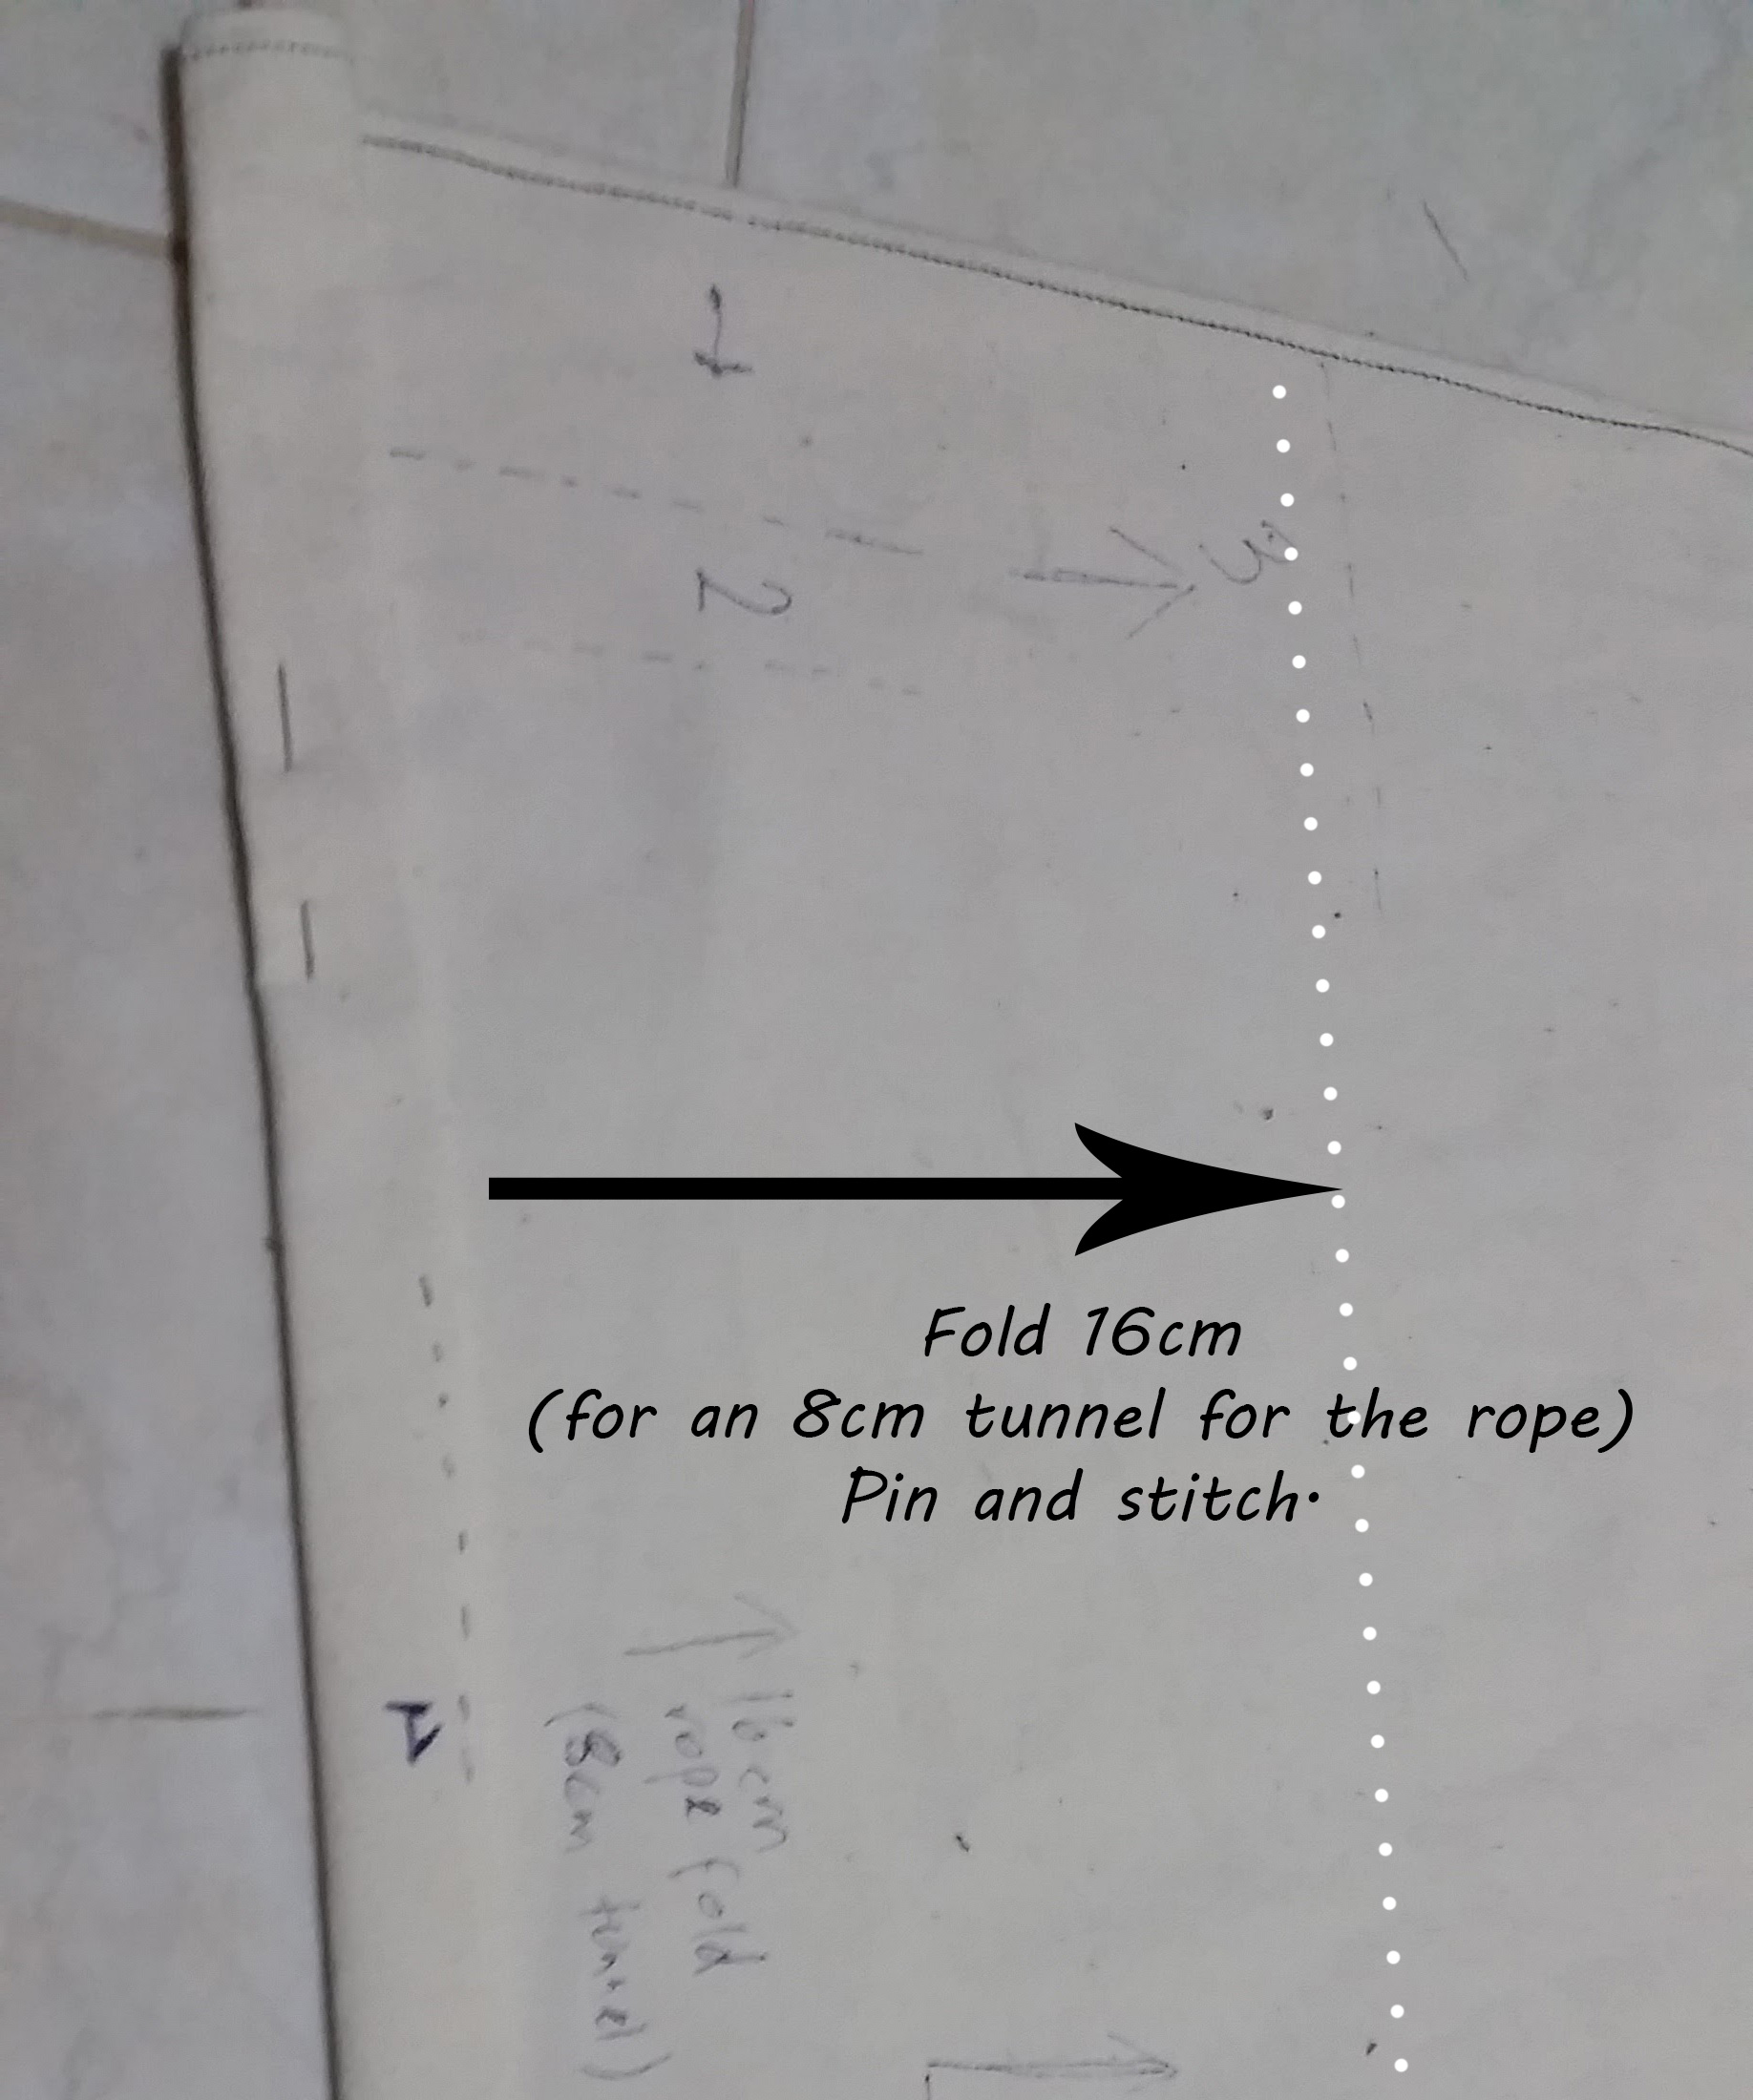
Back to the first sides that you hemmed, the diagonal sides. Fold them in by 16cm (6.3") to form an 8cm wide (3.15") tunnel for the ropes. Repeat for both diagonal sides.
Step 7: Done Sewing!
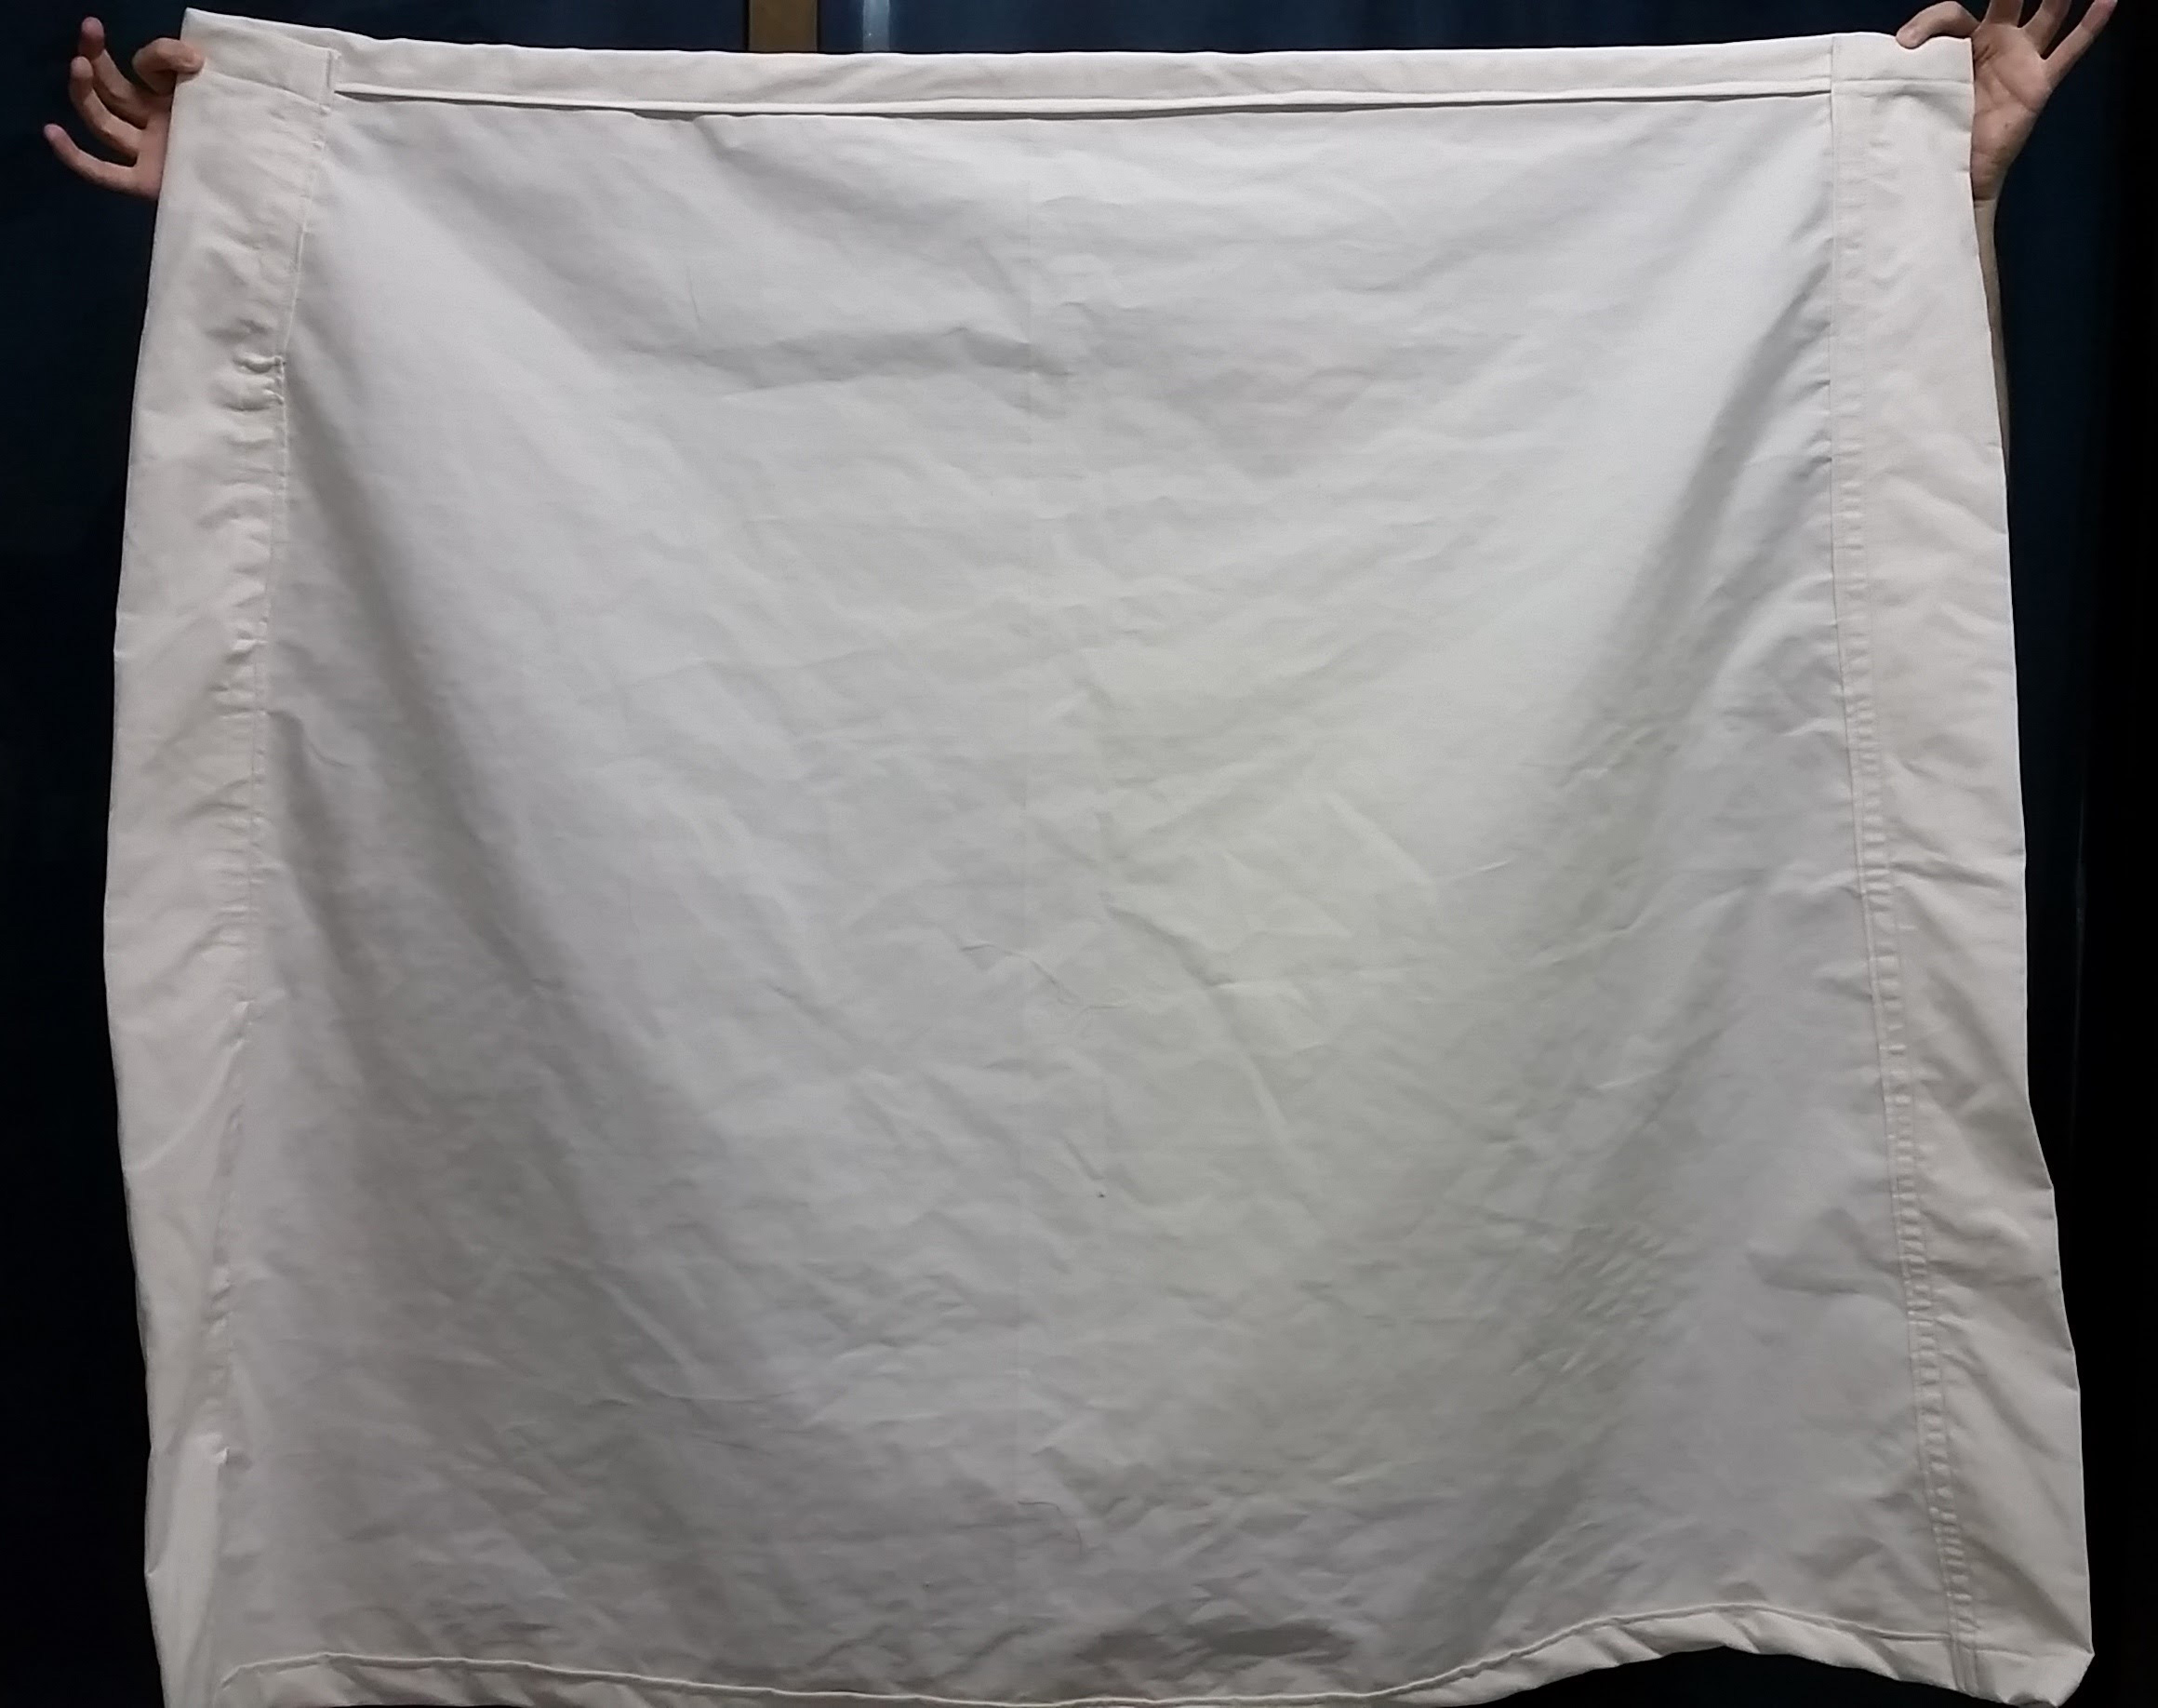
Your canvas should now look like this. Note the hemmed edges and the 8cm (3.15") tunnels for the ropes on the diagonal sides. The tunnels must be sewed only after hemming so you don't sew the tunnels shut.
Step 8: Collect Your Supplies
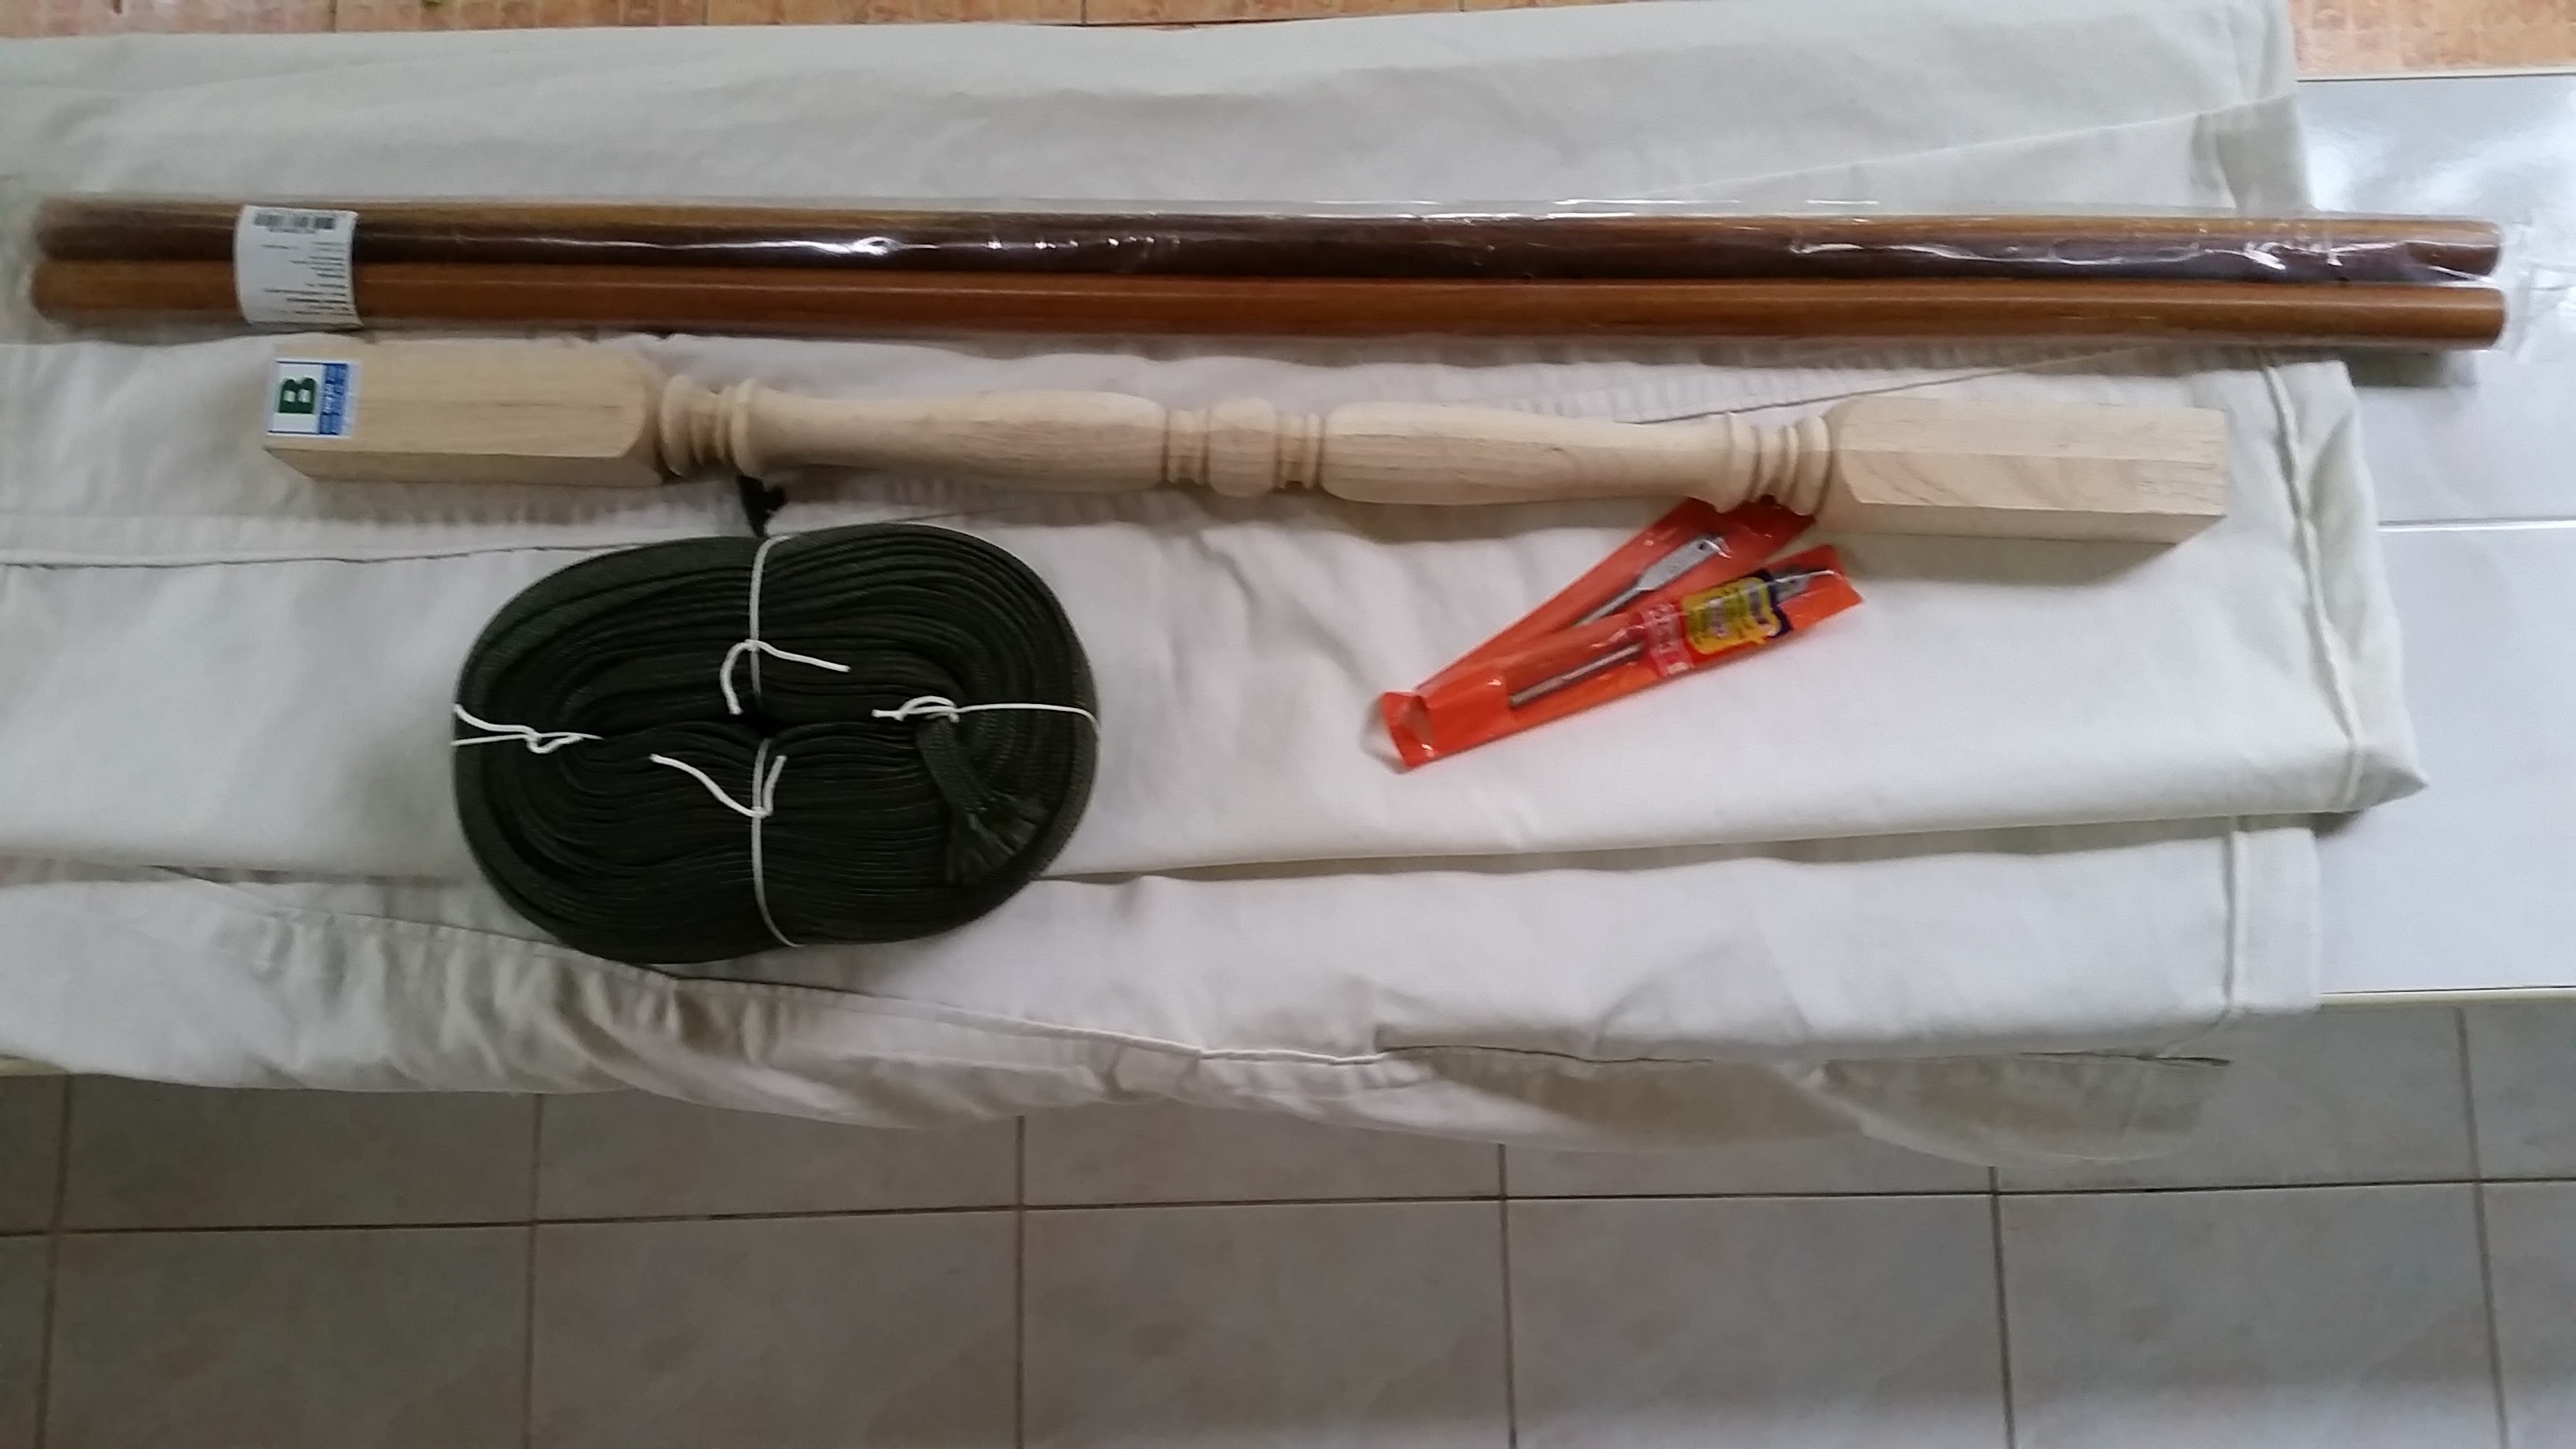
Get ready to drill 4 holes in your wood. Have the wood, electric drill and drill bit ready. We also have a decorative wooden railing to drill, along with regular lacquered wooden dowel. This is for a second chair.
Step 9: Drill Holes in the Wooden Dowel

Mark points 5cm and 10cm (2" and 4") in from the ends of your dowel. Repeat for both ends. Drill them through. Consider clamping your dowel to keep it steady when drilling.
A spade drill bit didn't work well for me, so I stuck with a regular drill bit.
Step 10: Thread, Cut and Tie the Rope
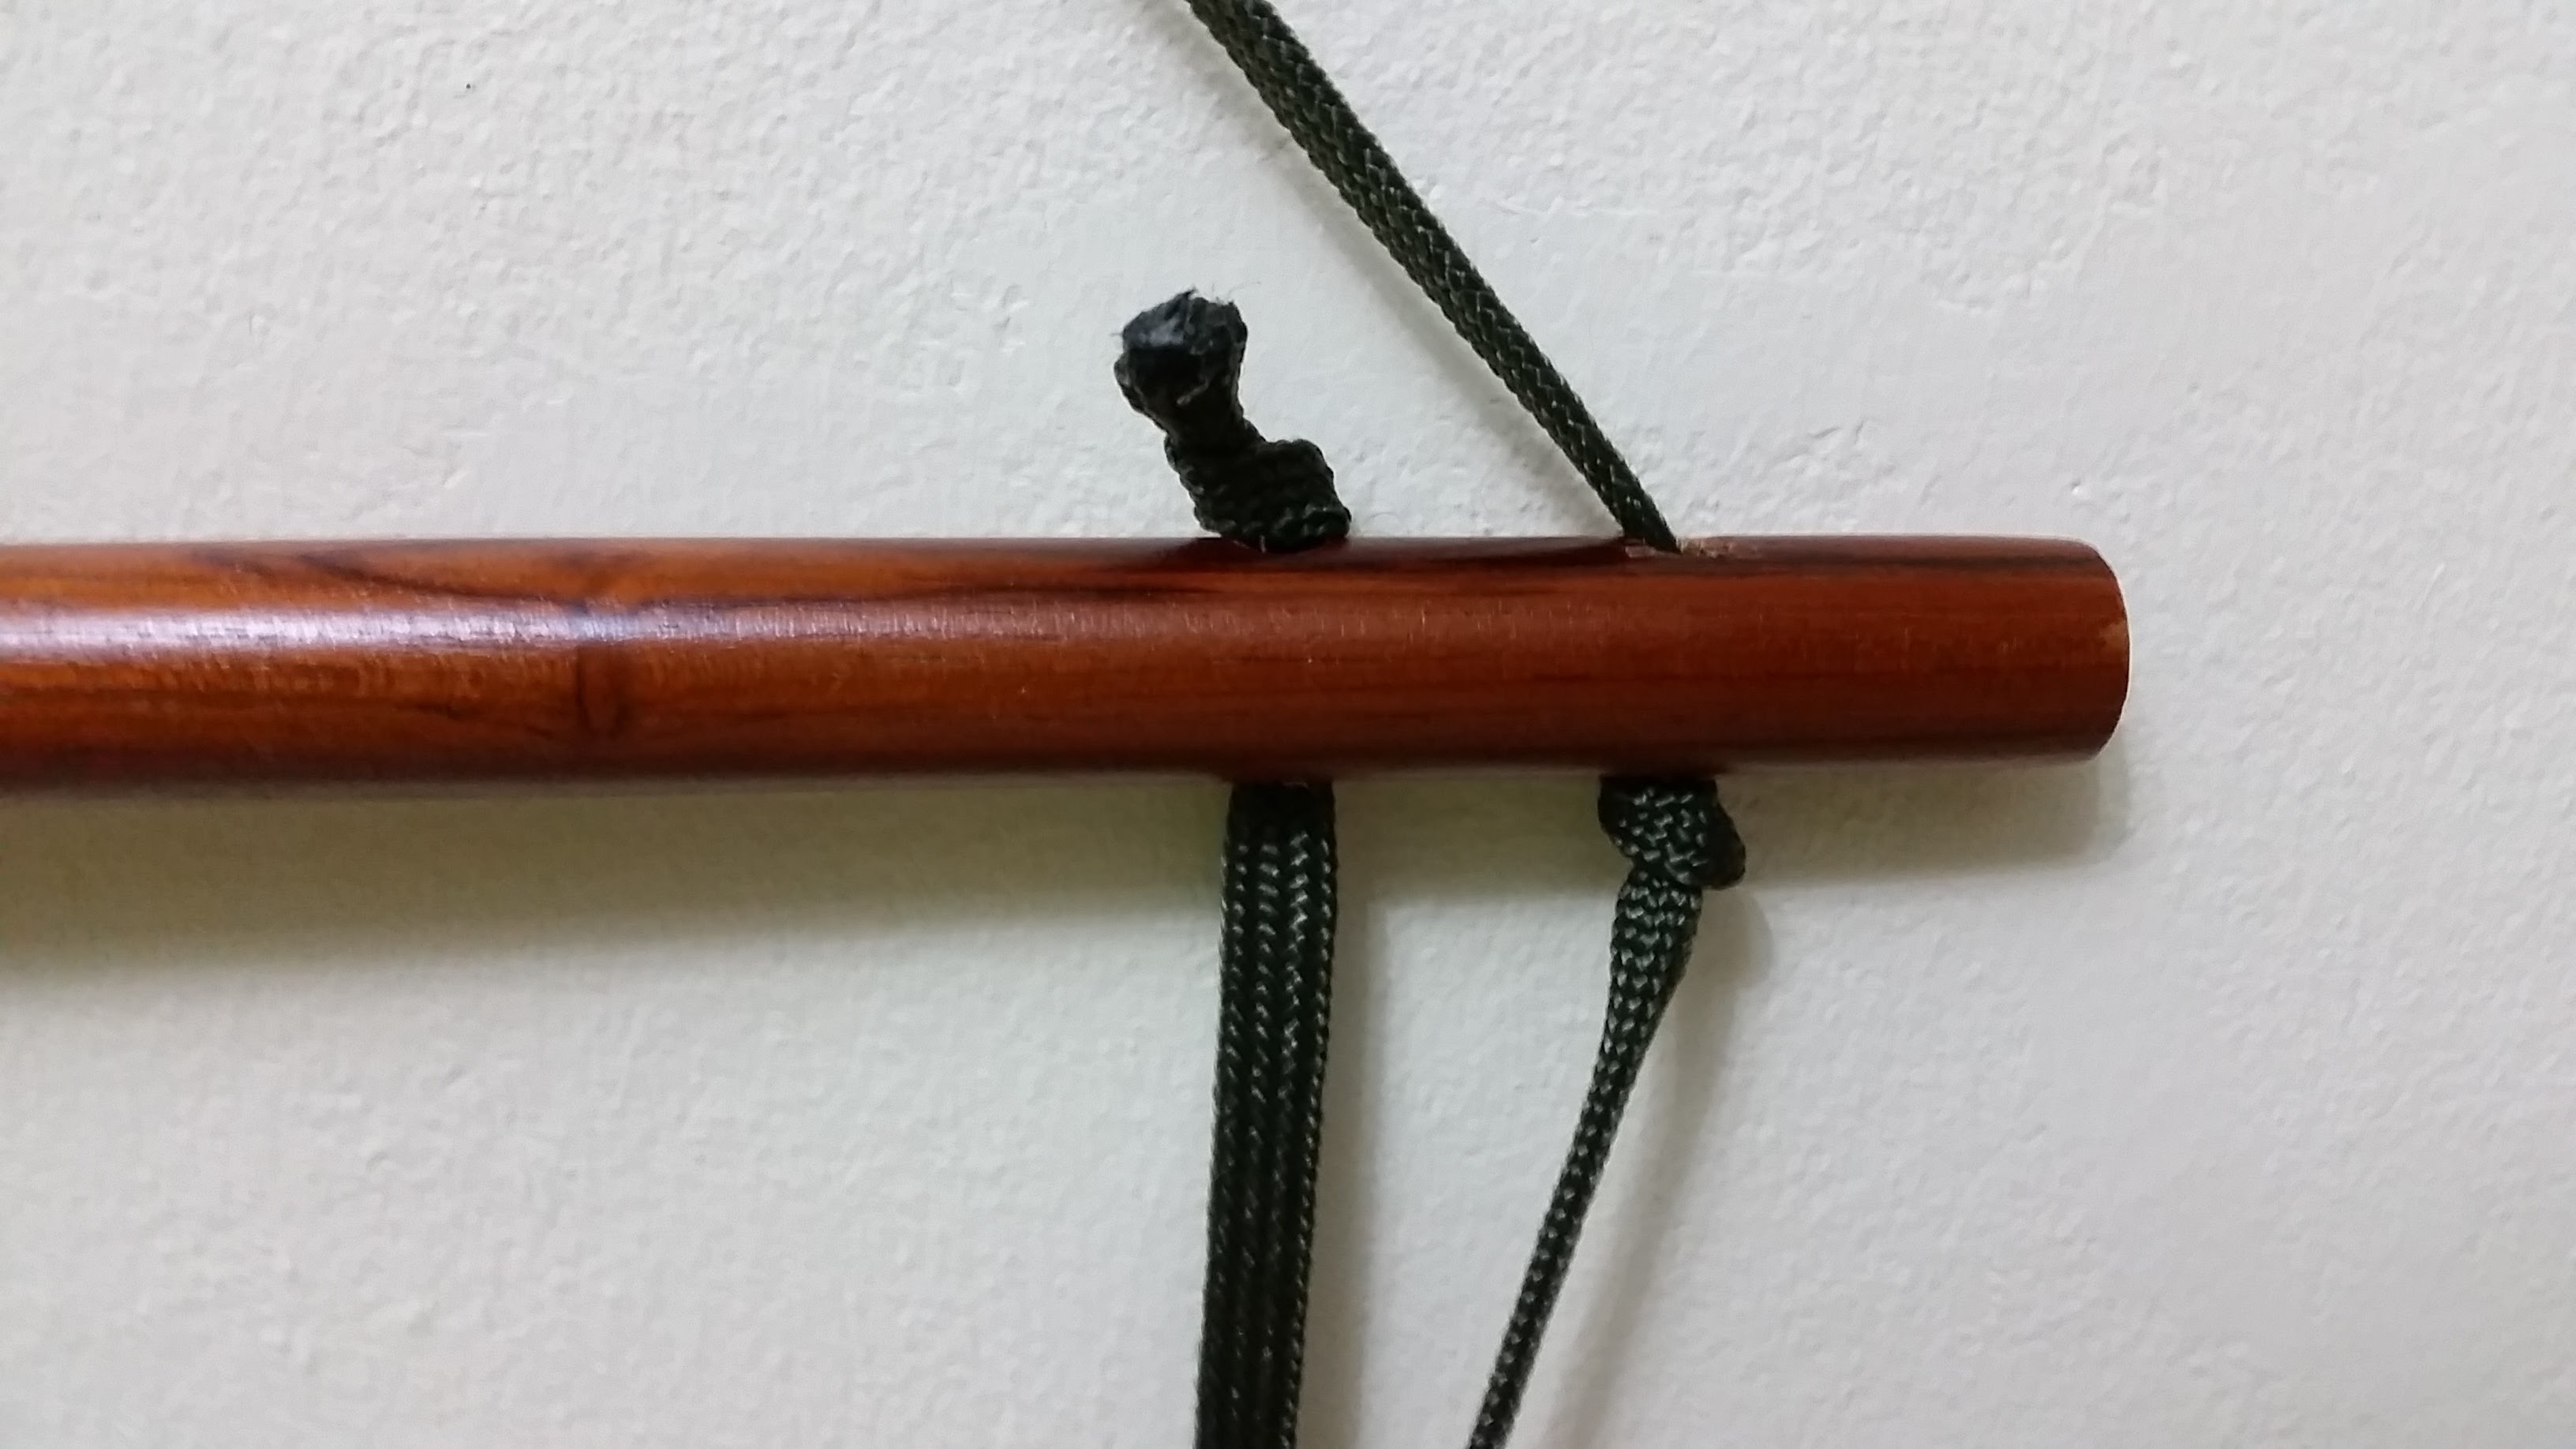
If the ends of your rope are frayed after cutting it to length, fuse them with a lighter.
Thread the rope through 1 hole, then tie it off. Thread the other end through the canvas tunnel, then get ready to pass it through the other hole. Tie it off again, right before passing it through the hole.
Depending on if you choose to use two 2.5m (8.2') lengths or one 5m (16.4') length of rope, either:
- 2.5m (8.2'): With the rope above the wood, tie the 2.5m (8.2') length to a metal O-ring or similar hanging accessory. Repeat this step on the other side of the hammock chair and wooden dowel.
- 5m (16.4'): With the rope above the wood, pass the 5m (16.4') length through a metal O-ring or a similar hanging accessory before continuing through the other holes, threading through and tying off symmetrically to the other side.
Step 11: Add a Pillow
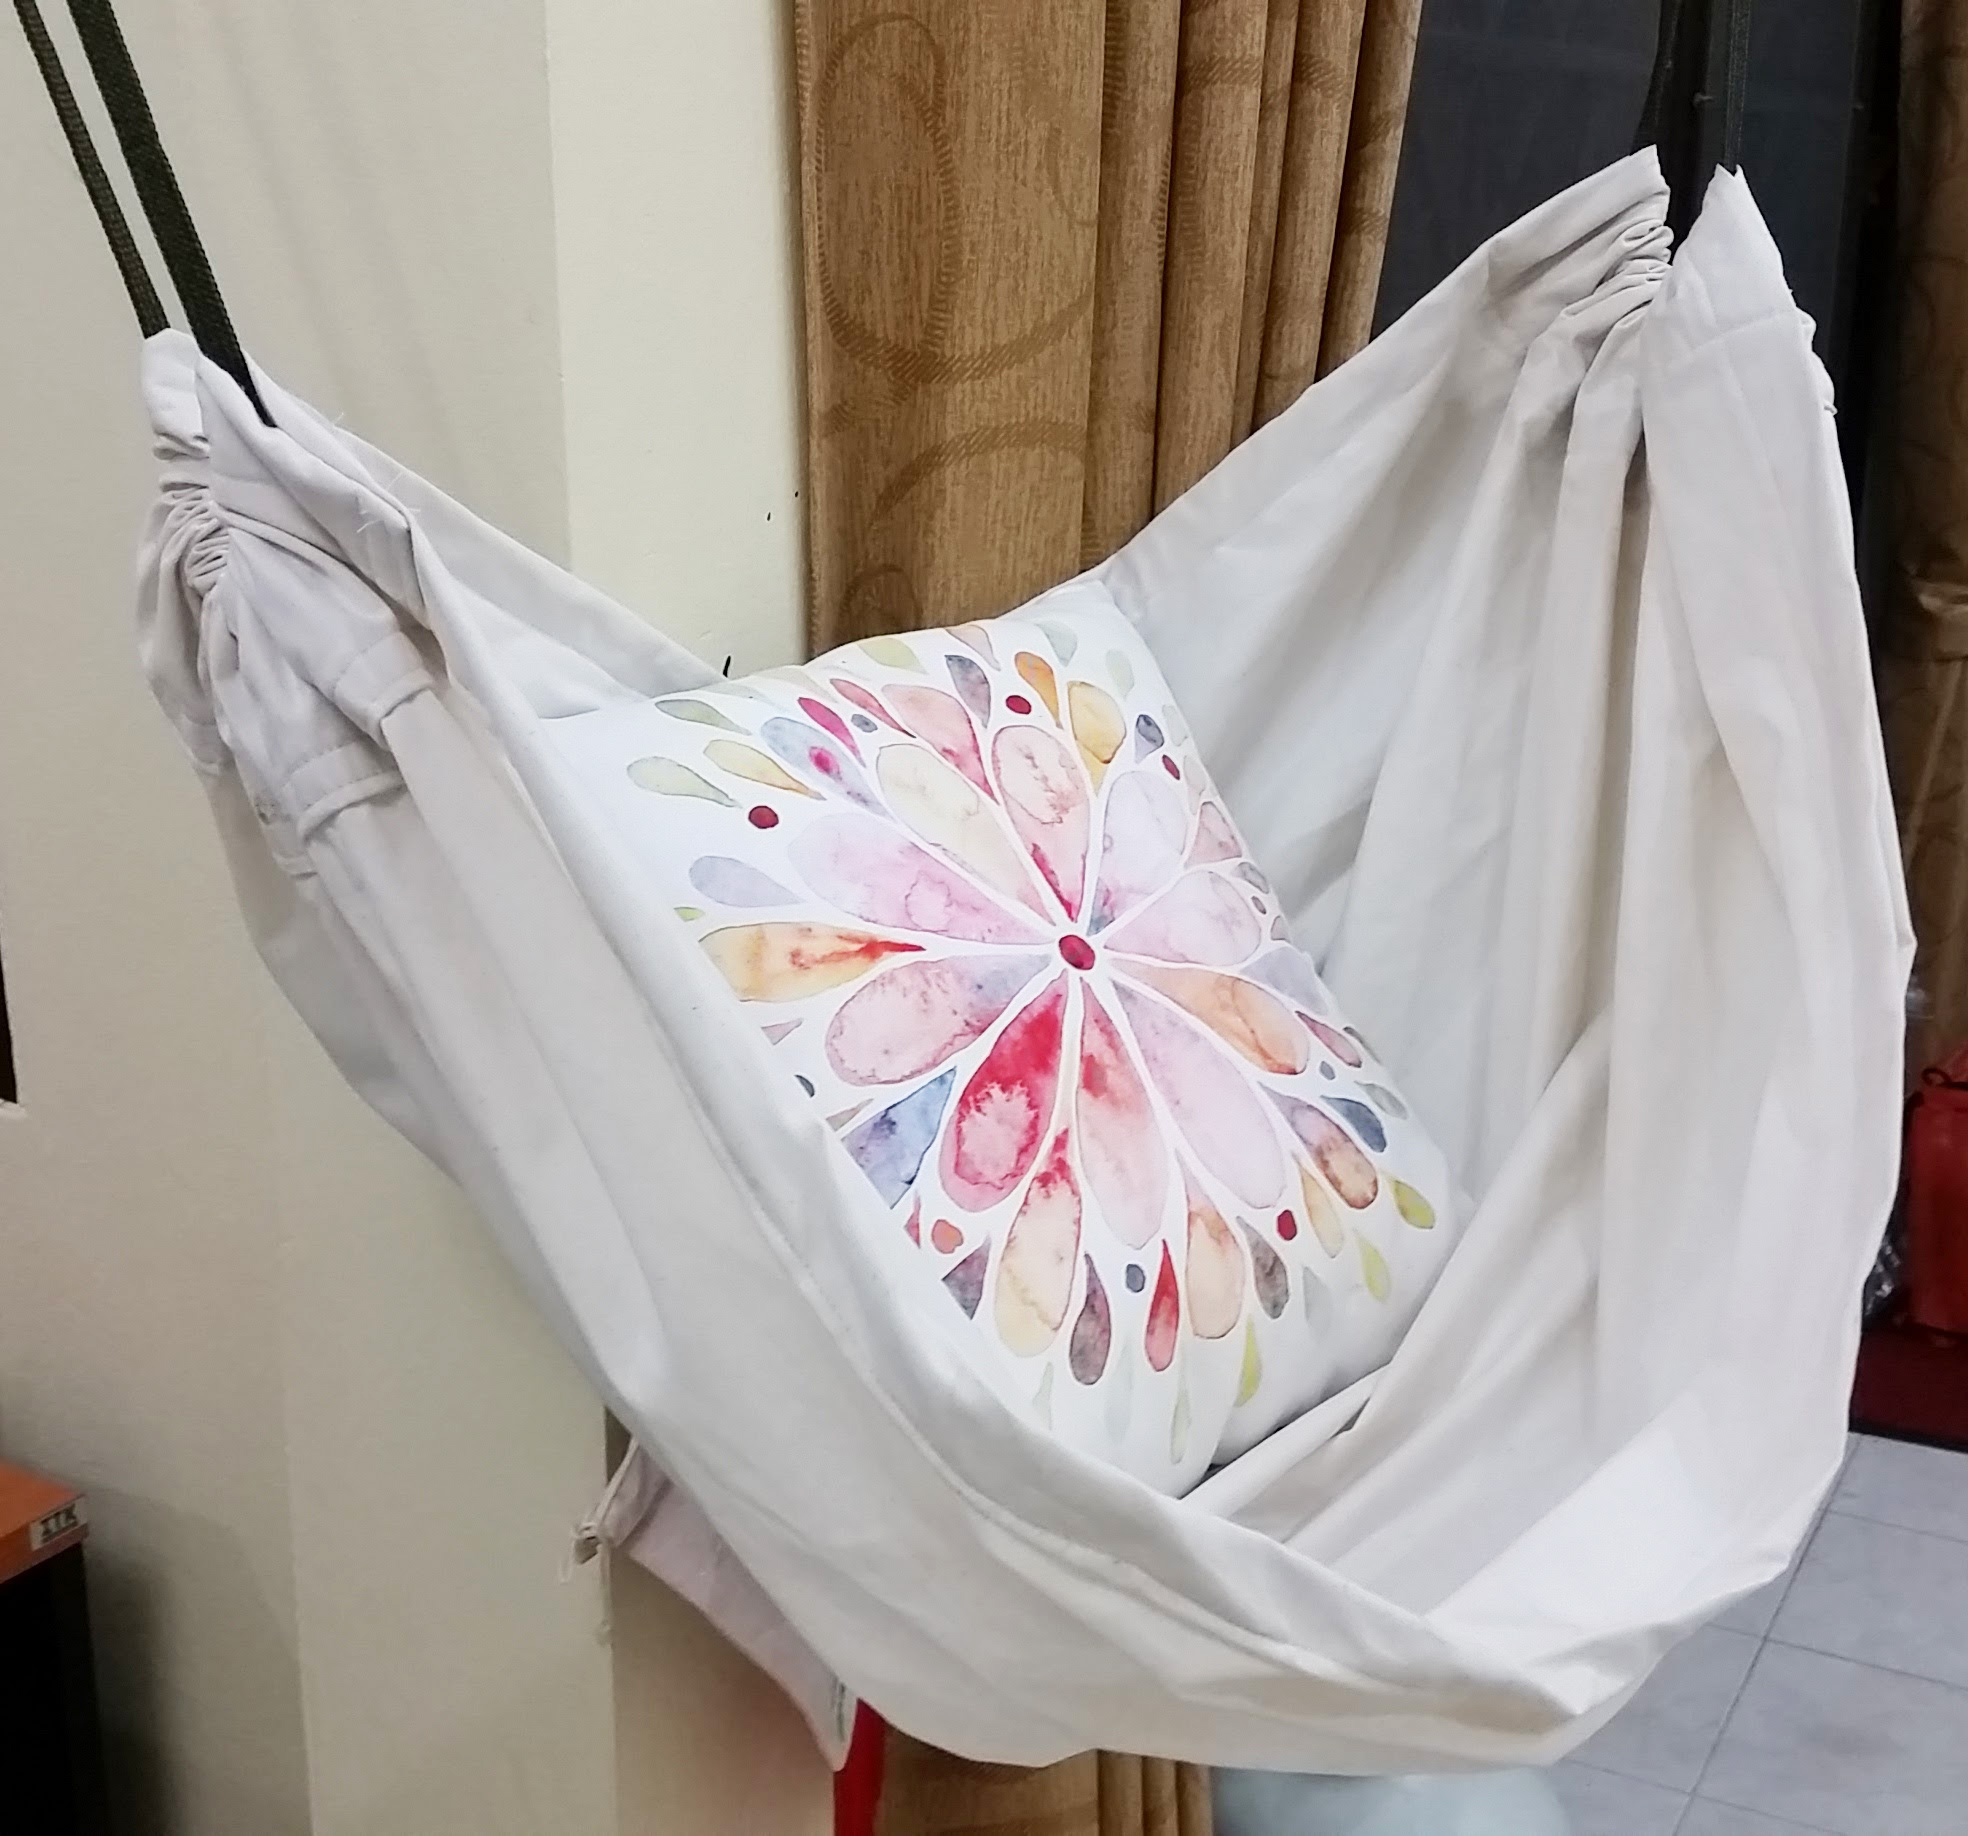
Add your decorative pillow to make it uniquely yours and you're just about done.
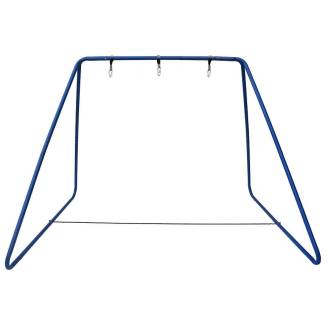
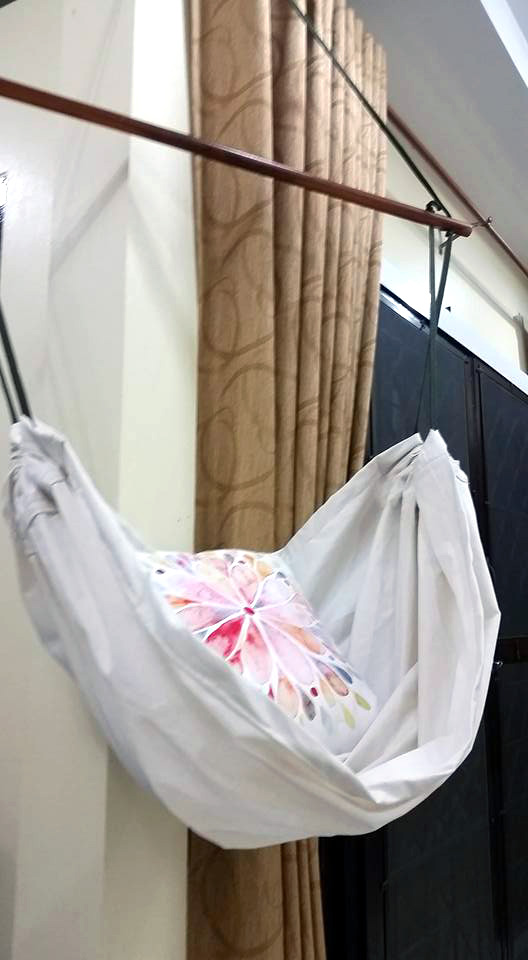
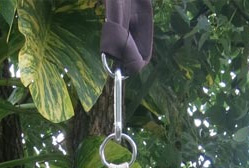
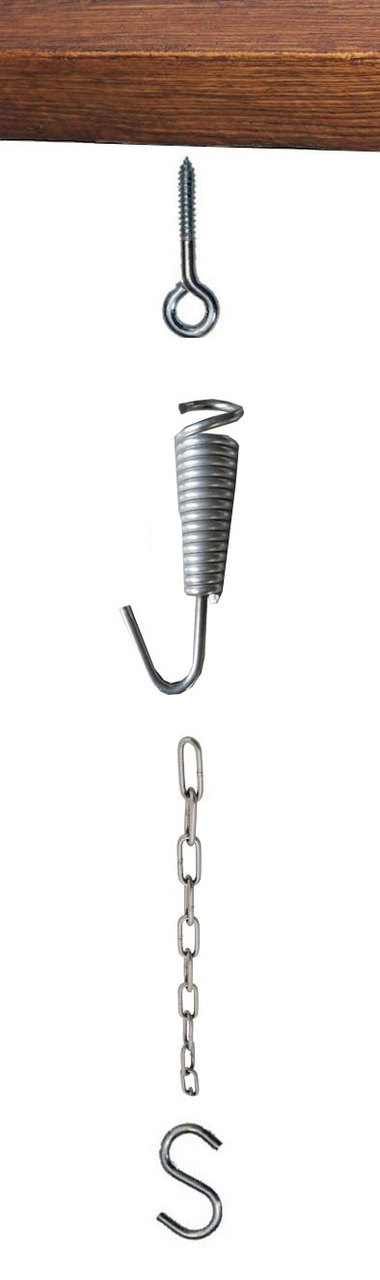
Step 12: Install Hanging Accessories
Below are some ideas for hanging your chair. In our experience selling hammock chairs, most people prefer to get a tree strap or basic hanging kits to hang their chair with.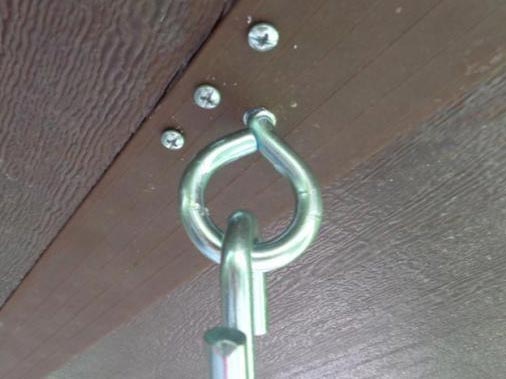
Done - Please Share
Congratulations on reaching the end of this DIY article and we hope you enjoyed it.If so, then it would be very appreciated if you could share it. Thanks a lot!
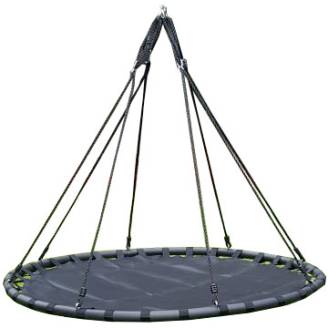
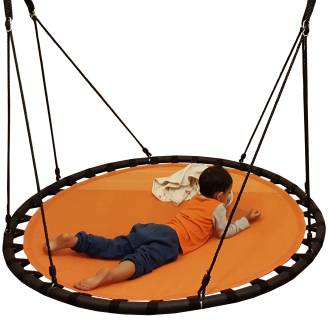
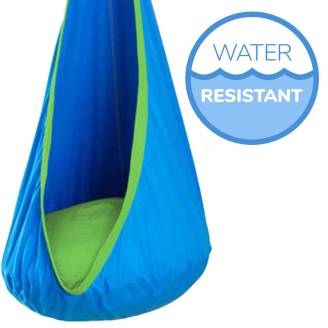
Another one of our items that is popular with kids is the Sensory Swing Pod Chair. Our sensory swing is quite difficult to DIY, but we may create a simpler version for a DIY article. For more ideas to entertain the kids, read 10 ways here.